
When it comes to experimenting with your AR photography, introducing props can be a fun way to think outside of the box, and with this article, we’re going to talk about prisms.
Prisms can be a really fun tool in portrait photography, so why not bring it into your portraits of Pokémon too? They allow you to manipulate light, as well affect how your background looks, and are available in a variety of different styles for more or less impact on your image.
Using a Kaleidoscope
One of my favourite tricks is to use a kaleidoscope in front of my camera lens. I don’t use a proper kaleidoscope toy as they would be too small to look through and very tricky to control, instead I bought a cheap pair of kaleidoscope sunglasses off eBay and popped out the lenses to use those instead.
View this post on Instagram
This gave me a small circular kaleidoscope I could use for AR photography that would easily cover the lens on my camera, without having to be super precise, or my hand potentially get in the way.
A kaleidoscope can be used to make something really surreal and out there, or it can be used to enhance and alter the background. Remember, this won’t affect your actual Pokémon, which will appear normal no matter what you do with the background.
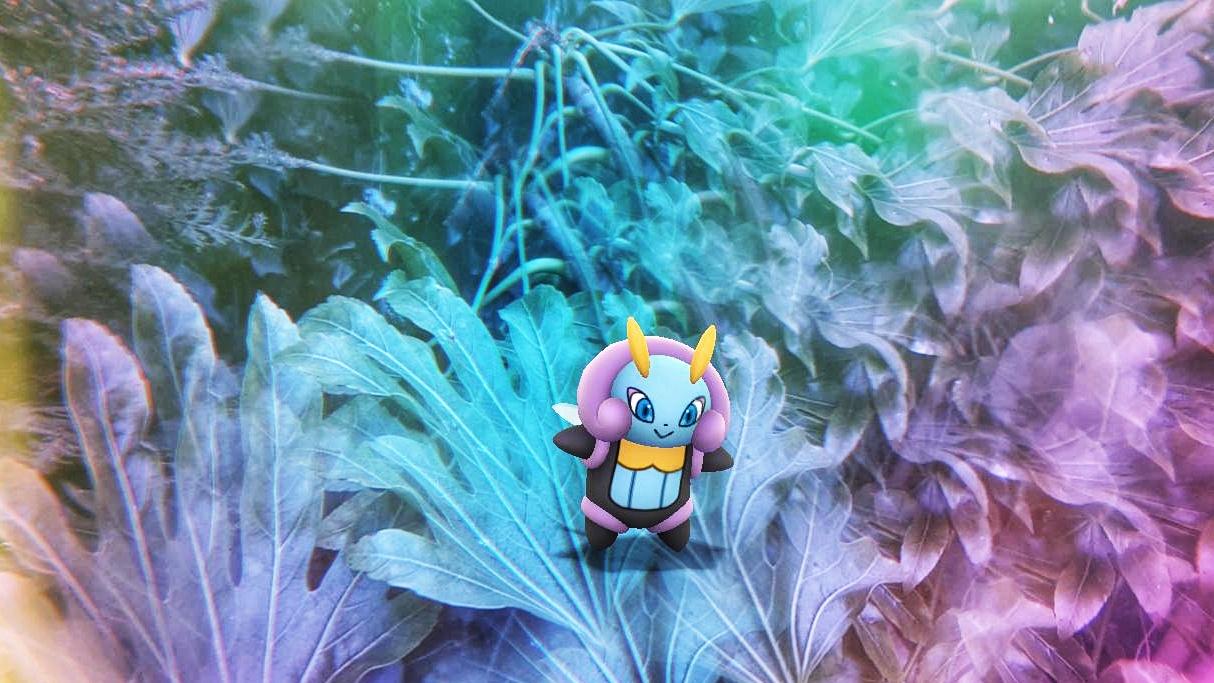
This photo of Illumise is the result from the video above. The kaleidoscope I use has two different sides, one with smaller prisms, and one with larger ones. I used the larger ones for this so the background would be more visible, aiming for the effect to be as if Illumise has used Sweet Scent, which draws geometric patterns to attract Volbeat.
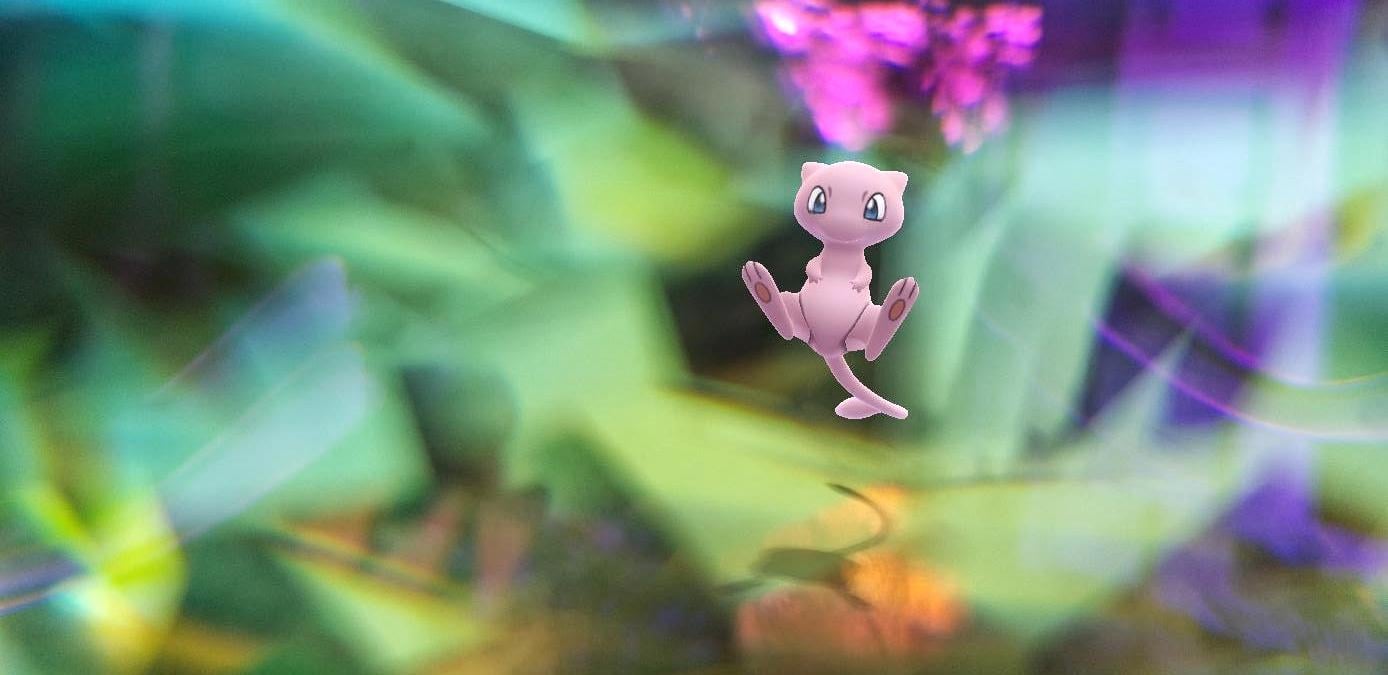
For this Mew image, I wanted to capture the embryo like design of Mew, so I used the part of the kaleidoscope with the most prisms to get a really surreal effect.

Experimenting with the angle the kaleidoscope is to your phone camera can produce different effects. Here the effect is quite extreme to one side, but less extreme over shiny Celebi. Rather than just holding the lens in front of my camera, I tilt it and alter the angle to see what different effects I can produce. Experimentation is key!
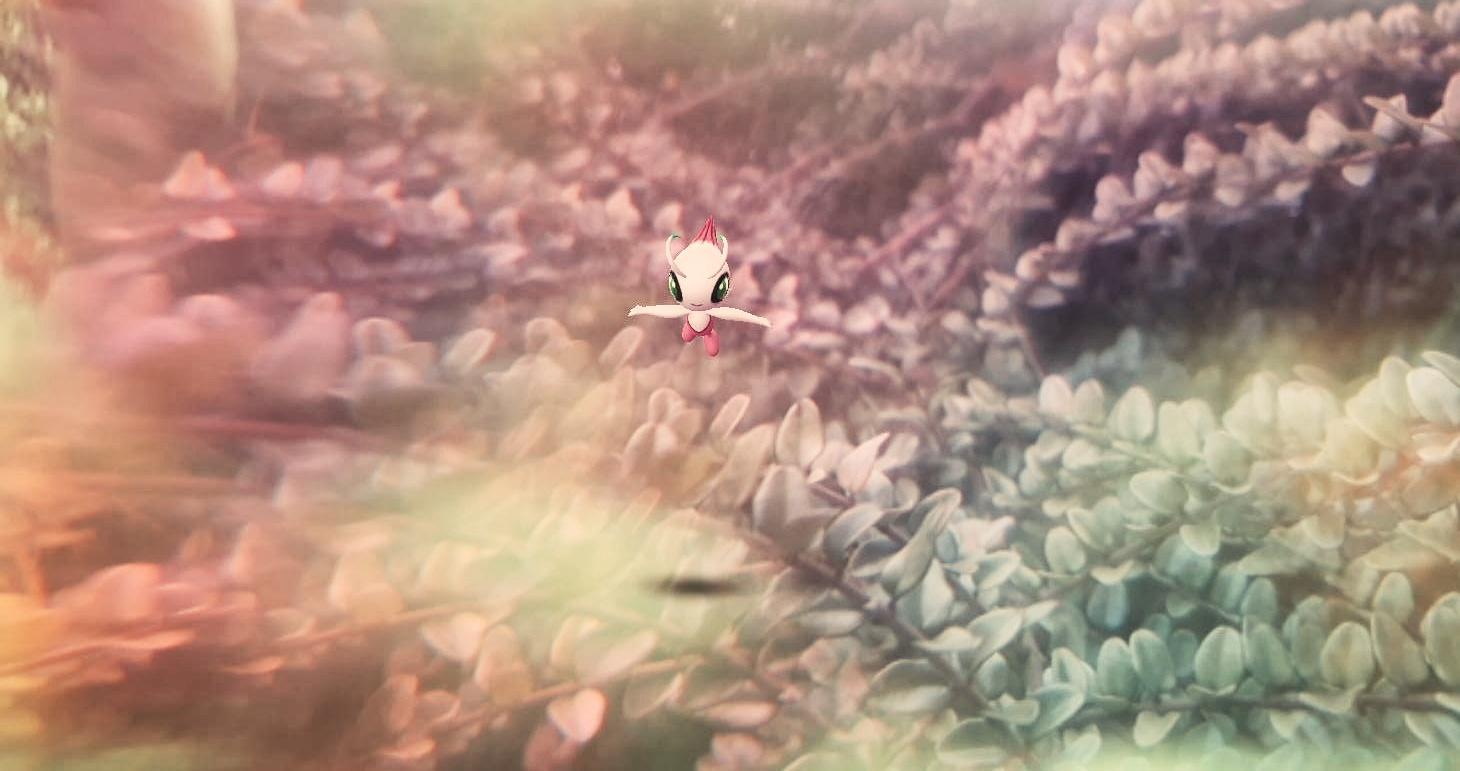
This image of Celebi was taken in the same place as the above, but moving the kaleidoscope gave a completely different effect, much more dreamy and ethereal.
Using a Prism
You can find prisms from most stores online relatively cheap, they come in a variety of shapes, but are usually a pyramid or a cube. These can be used to affect the light in your image, rather than the whole background, so will give a more subtle effect than the kaleidoscope.
I have a set of photography prisms by Belle Vous that I bought from Amazon, that comes with a sphere, a cube, a pyramid and a long triangular prism. They can all be used to manipulate light, creating rainbows and beautiful colour flashes in bright light, but also to photograph through directly.
The most popular prism I’ve seen used in AR photography was popularised by our very own AR Master Ash Ketzchup. He used a sphere to photograph his original Mew beautifully and to great effect, calling them his ‘Lensball Mew’ series. Inspired by this, I used my own sphere prism to photograph my shiny Celebi.
![]()
Some Pokémon just really suit the sphere. With Celebi’s spiral animation it almost becomes a glassy Pokéballs, or an entry way to another time.
It can be tricky to get your focus just right on these, especially in ‘wild’ AR mode with an uncaught Celebi or Mew to get their swirl/invisible animation, but it is well worth the effort!
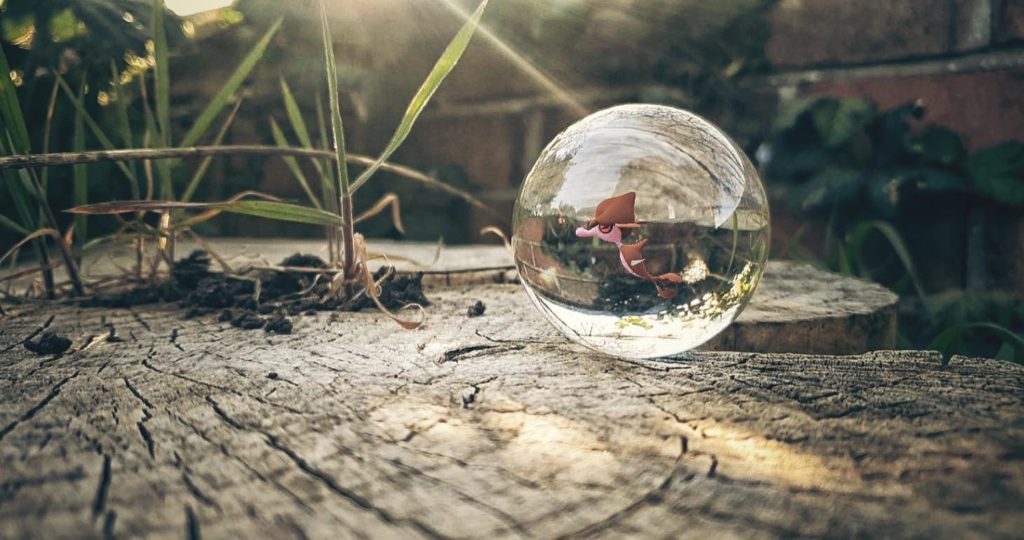
I also opted to use the sphere shape for this photo of my new pal Skrelp. I don’t live near water, so I don’t have the best habitat to actually photograph Skrelp in. I decided instead to imagine the sphere as a sort of water Pokéball that meant Skrelp could safely adventure with me whilst still being contained in water. You can also really see how the sunlight catches this prism too, in the sunlight spots it creates in front of the sphere.
With a cube prism you could have Mr Mime trapped in a box, or you could use it in its more traditional sense to cause light patterns and rainbows to appear in your image. There are tons of creative options, you just need to experiment!
Conclusion
There are all sorts of fun ways to use props, and prisms can be a photographic tool that can help you explore and be more creative if you are someone who loves the AR photography aspect of Pokémon GO. Don’t forget to share your photos on social media with our hashtag #GOHubAR so we can see all your incredible work!