
Niantic AR, formerly known as AR+ mode, is just one of the ways to take AR photos of your Pokémon in Pokémon GO. Not all models of phones are compatible with the more indepth Niantic AR, and it isn’t always the most practical mode to use depending on your aims, so here are some ideas for taking photos using the standard AR mode only.
Firstly, how can you tell which mode you are using? With Niantic AR, when you go into the AR screen you’ll see the little yellow footprints appear where you are able to tap to place the Pokémon, whereas with the regular AR mode the Pokémon is static and fixed on the centre of the screen. With Niantic AR you can move around the Pokémon and look at it from all directions, but with the standard AR mode the Pokémon is always facing towards you, cannot move within the frame, and is always in the foreground of your image.
So why would you want to use AR mode over Niantic AR if you have the choice? While the options for the Pokémon’s poses and positioning might be limited, there are times it absolutely works to your advantage. Many of the tips and tricks AR photographers use aren’t always practical depending on the environment they are working with, and by turning off Niantic AR, you can fill that gap in a simple way.
Tiny Pokémon
In my last ‘How to AR’ article, I shared how to make Pokémon appear tiny in your image, I should also have included the use of regular AR mode! Because your Pokémon remains fixed no matter where you point your camera, you can use AR to your advantage and make your Pokémon appear a completely different size to it’s ‘real’ size.
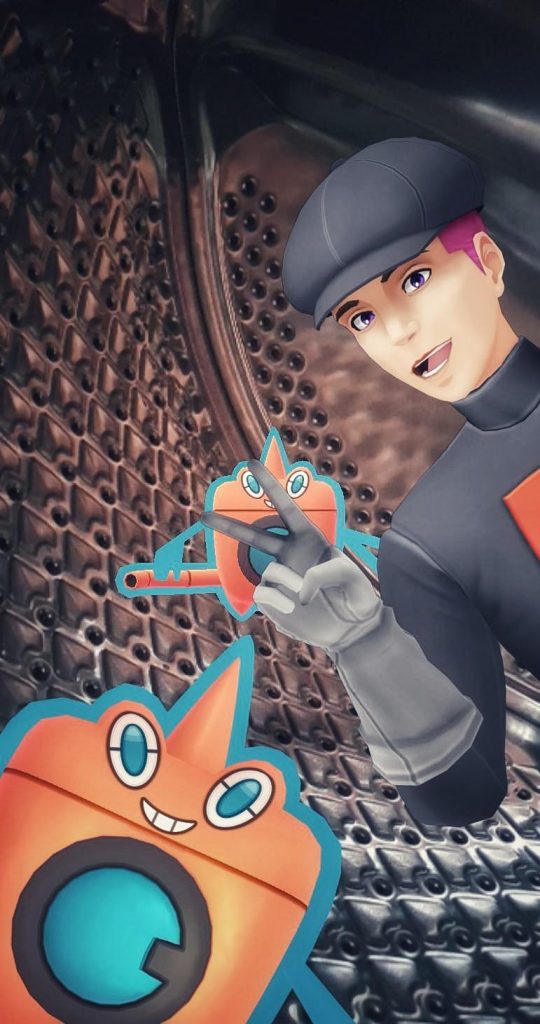
Both the Rotom Team GO Rocket photo and the Durant image were taken in the standard AR mode. I had the idea that I wanted Rotom to be inside my washing machine because it is the Wash form. Because Rotom remained in a fixed point, I was able to easily put Rotom inside my washing machine and photograph it, without it attempting to jump or move. Often when using Niantic AR when you are trying to ‘trick’ a Pokémon into a smaller environment, if the new surface isn’t flat, it will disappear and hop itself back to it’s original placement, off camera, but with the regular AR mode Rotom stayed steady and I was able to get the shot I wanted.
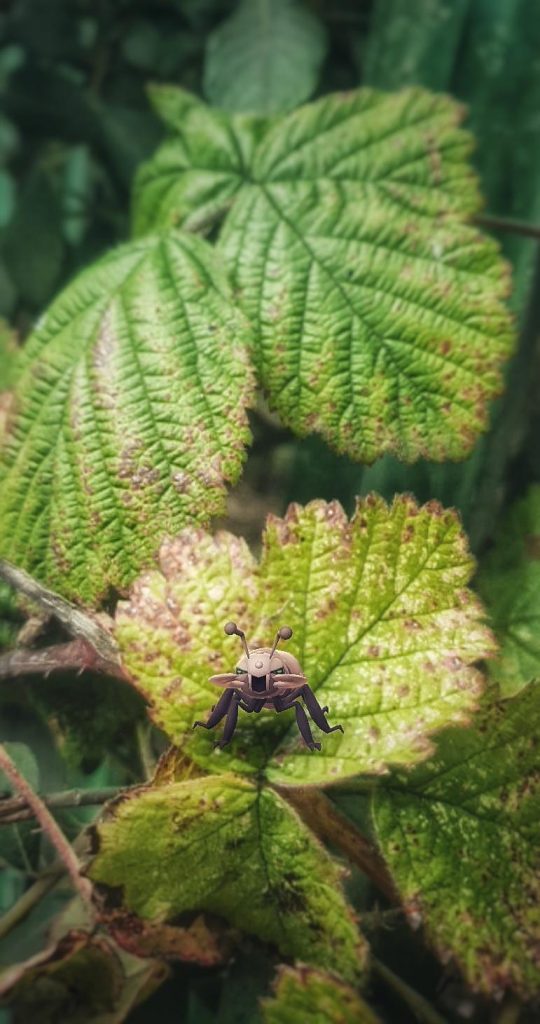
With the Durant image, usually I would have used one of the Tiny Pokémon tricks, but in this case because of the environment around the setting I wanted to use, I was unable to utilise either of them. So instead, I switched off Niantic AR and simply moved my camera very close to the leaves so that Durant was sat on the lower one. Provided your camera can focus, using standard AR you can make your Pokémon as tiny as you want! These leaves were only a few centimetres, but Durant sat happily because they were fixed in place.
Flying Pokémon
Getting a Pokémon to fly up into the sky in Niantic AR can be an arduous task! Pokémon are programmed to be on the ground, or to hover a set height from it, but getting a Pokémon up into the sky can create some incredible images! From showcasing your Ho-oh in a perfect sunrise, to a Shadow Mewtwo in a stormy sky, be able to make your Pokémon fly is a nifty trick.

For this image, I saw the clouds above an office building and thought they seemed ideal for a Shadow Mewtwo. Because of the nature of where I was, I couldn’t use Niantic AR as I needed Mewtwo to almost be directly above me, and I knew that would getting that positioning just wasn’t going to be possible. So I turned off Niantic AR to use the standard AR mode, and was able instead to simply point my phone up at the clouds I wanted Mewtwo in front of, tap to activate their attack, and click! This image took seconds to get how I wanted it to, all thanks to turning off the ‘fancier’ Niantic AR.
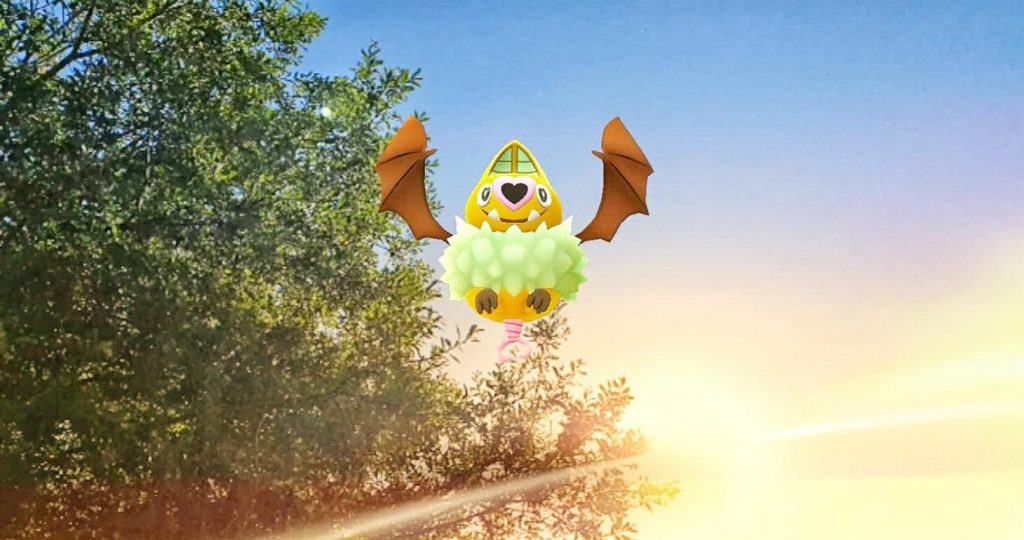
Another quick example, here I was able to get Swoobat up above the sun in these trees for a sunset themed image quickly and easily. Not exactly an exciting or creative photo, but I took this in seconds, just to show how easy it is because you can just point your camera up to wherever you want the Pokémon to be. There are times I’ve spent 10 minutes trying to trick a Pokémon into staying in the sky so I could photograph it in a certain setting, and ended up missing out completely because a good sunset can be gone in minutes, or because I simply gave up from frustration!
Easy Pokémon Placement
Getting your Pokémon to sit exactly where you want it can be seriously tricky if it isn’t a flat surface, or if the Pokémon isn’t technically the right size to sit on said object. Because the Pokémon are fixed in place in standard AR, you can use this to get your Pokémon in just the spot you had in mind.
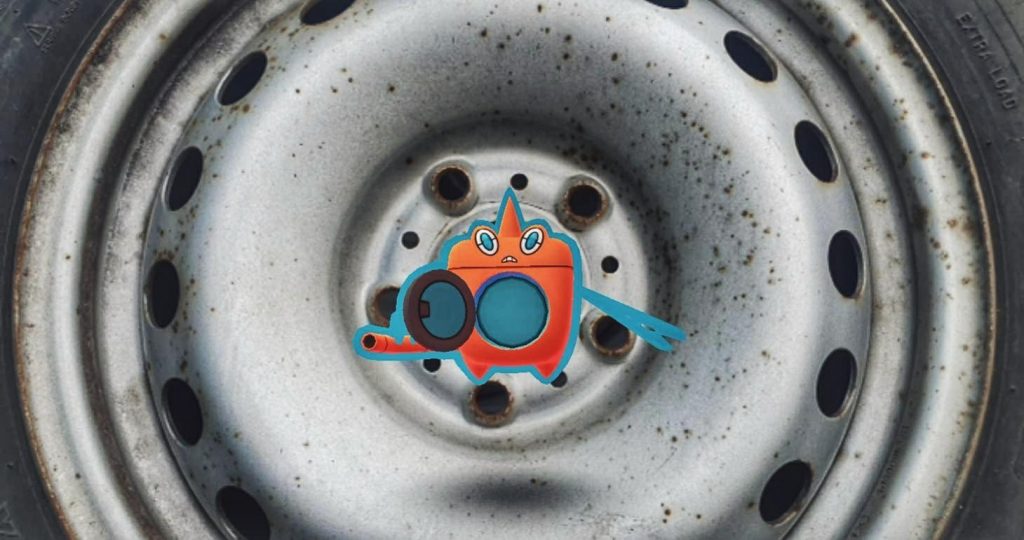
I saw this old tire and thought Rotom would look really cool in the middle of it, but I had nowhere I could spawn Rotom in to get it in the correct spot, and it was going to need to float a few feet above the ground, another thing Pokémon don’t like to do in Niantic AR. Instead I was able to turn my phone to landscape in standard AR and get Rotom exactly in the centre of the tyre with very little effort and get the shot I had in mind in a very short space of time, without any faffing about trying to force Rotom to move into the spot I wanted.
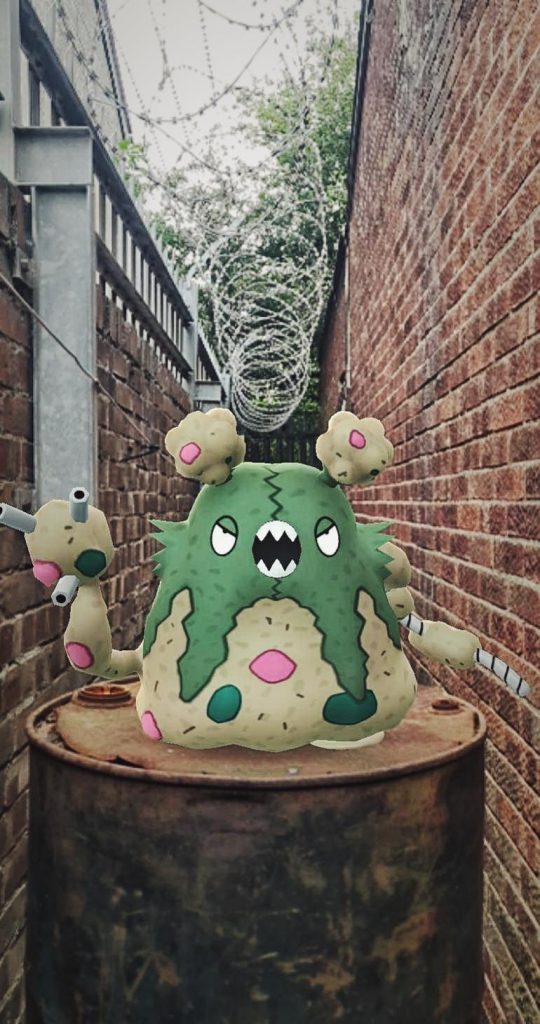
For this shot, Gardodor was much too big to sit on this barrel in this little alley I saw, and because the alley was a small spot, it was also tricky to get Gardodor to happily spawn in anywhere I could then move them from in Niantic AR. So again I turned off Niantic AR and utilised Gardodor’s fixed position to be able to get them to appear happily sat on top of this barrel, guarding their junk, in a spot that just seemed to fit them just right.
Moving Environments
Trying to get a Pokémon to stay still in a location that has movement, such as a flowing sea, or even when you are moving, can be so difficult. The Pokémon might tend to glitch and jump and just not stay still no matter what you do. Ever been on a plane and thought seeing a flying Rayquaza along the wing in the sky could be cool? It’s going to be immensely difficult to take that in Niantic AR mode because where would you get such a big Legendary Pokémon to even appear, to try to get the shot? But if your Ray was fixed in place, you’d stand a good chance to make it work. When you’re trying to get your Lapras to appear in the sea waves that are crashing the constant movement can make them wiggle all over the place, but with a fixed position, it’s much easier! You might not have the options to see the Pokémon from anything but a front on view, but shots that could potentially be impossible, can be possible with the standard AR mode.
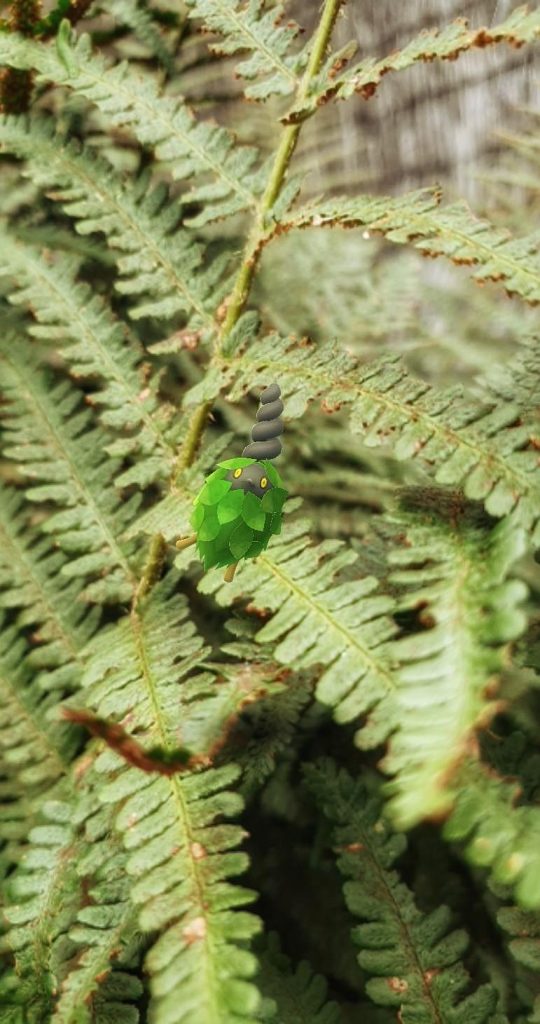
As an example, not the most obvious ‘moving background’, but I took this on a really windy day so the ferns were constantly changing position as the wind blew. In Niantic AR this would have mean Burmy would have been attempting to move to stay ‘sat’ on top of wherever they were initially put, but because of the steady centralised position of standard AR mode, I was able to get the shot and time it so Burmy was ‘blowing’ in the same direction as the ferns.
Unusual Positioning
With Niantic AR when you move the Pokémon stays fixed in place and you can view them from a variety of different angles, but sometimes you might get an idea for a Pokémon to be seen from a different angle that doesn’t work with them sat/stood on the floor.
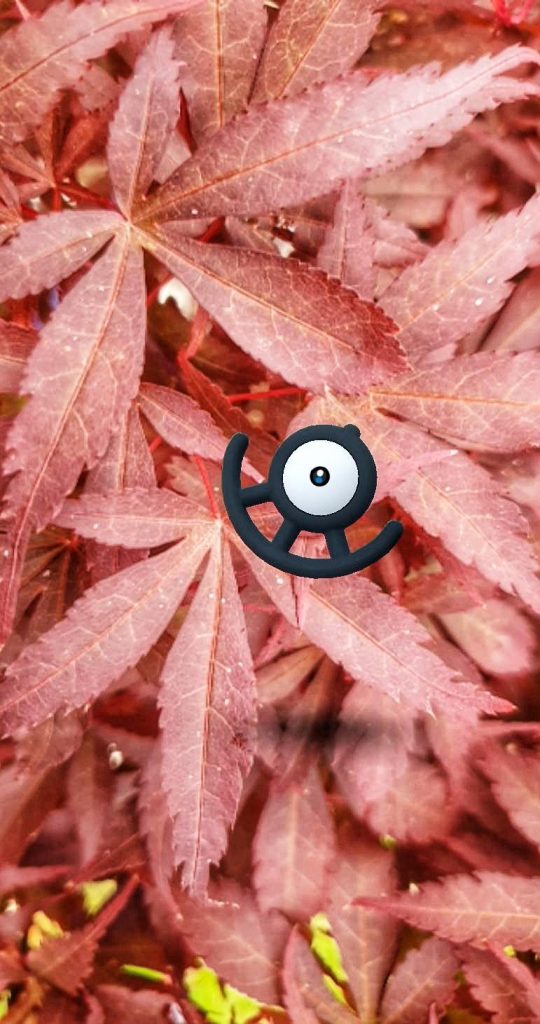
For this Unown U photo, I was directly above the tree as I wanted the Unown not to be sat on the leaves, but flat to them. This shot wouldn’t have been possible in Niantic AR because technically it is floating and not on a flat surface. The fixed positioning allowed me to change the angle, whereas Niantic AR would have shown the top of the Unown, rather than the front view when above it.
AR Challenge
I set myself the challenge of only using standard AR for the last week whilst out and about taking photos to see what sort of images I could create. Everything in this article was taken in that week period and the below images. Not having access to Niantic AR (formerly AR+) can seem frustrating, but with a little creativity you can absolutely still take beautiful images and be a part of the wonderful AR community! I was pleasantly surprised by the sort of photos I was able to take in the standard AR mode, and also by how quick and easy it was. Most of the images have been edited with either Snapseed or Afterlight, which just finish off the images for my own personal taste. For a future AR Showcase I’ll be challenging you to turn off Niantic AR, so get thinking!