
When planning out your AR photo sessions, location and setting are some of the most important things you can keep in mind. Much like certain Pokémon only spawn in certain locations, those Pokémon tend to suit being photographed in those locations more too. It can help add realism to your photography, and help determine a mood or concept too. Today we’re going to look at different things you can think about to help level up your AR photography.
Realism in Nature
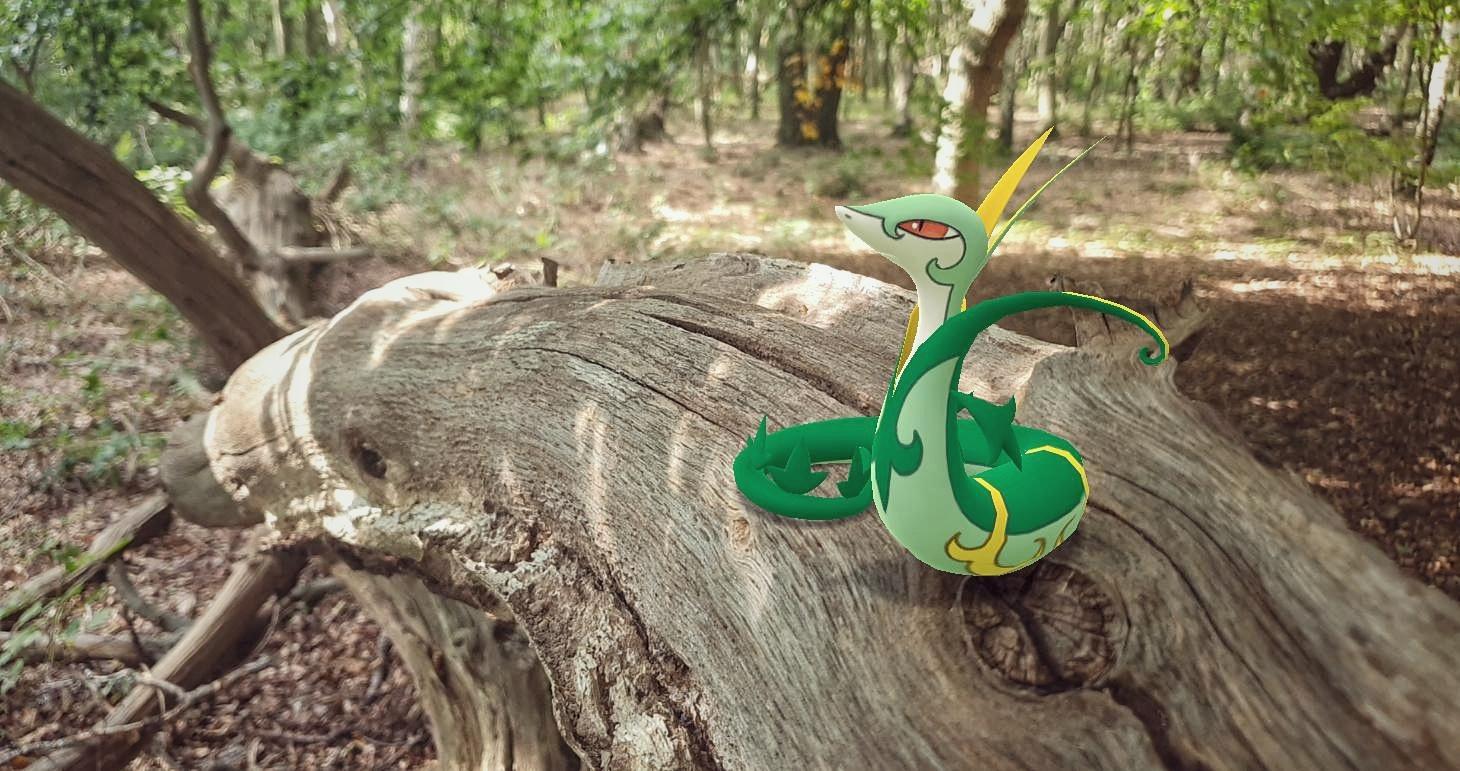
If you are wanting a more realistic approach to your AR photography, think about your Pokémon typing. Water types will be more realistic in a river or seaside location, Grass types in the forest and so on. If the setting matches your typing, your photograph is going to appear more realistic.
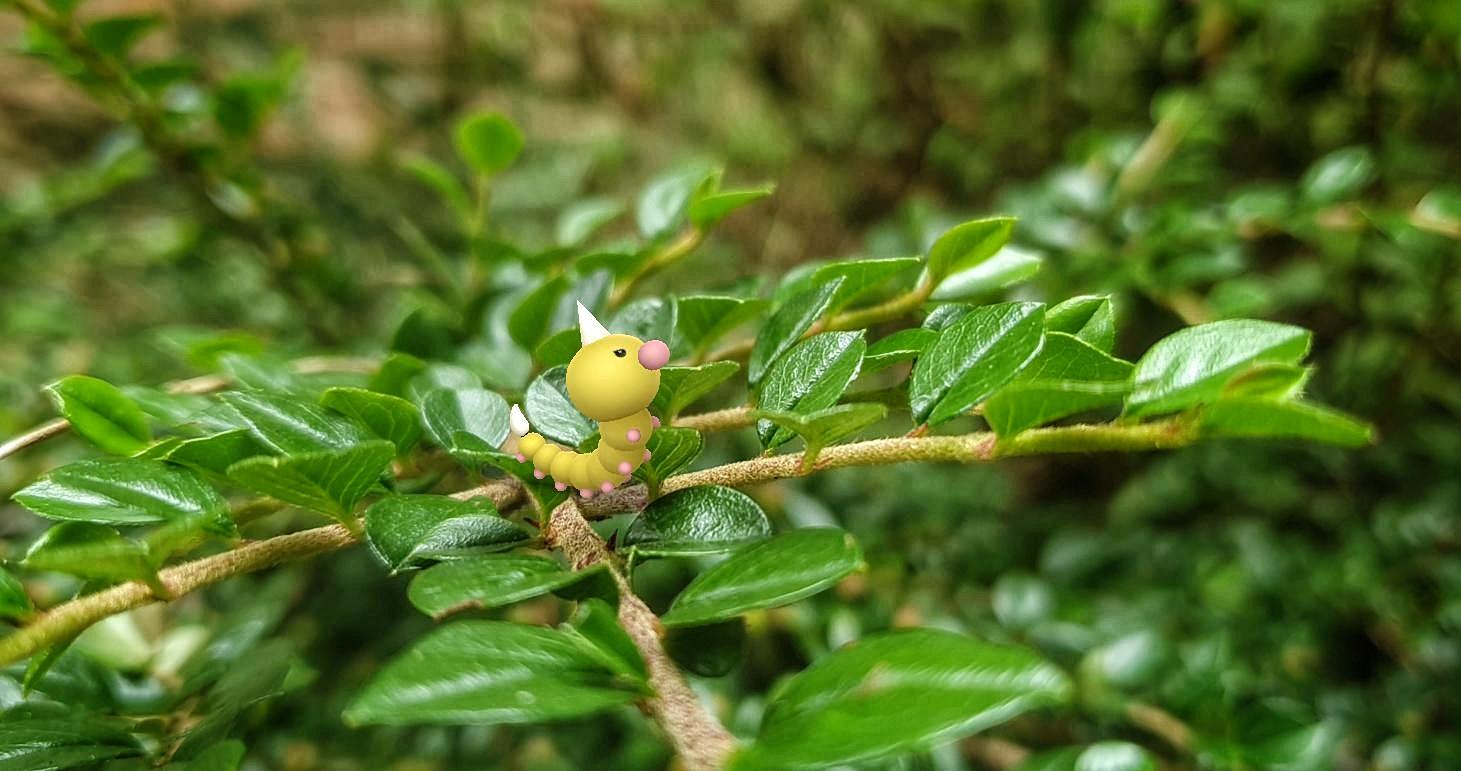
A Bug type hiding in the branches of a hedgerow works because it is realistic. You really would find bugs in these places, so this Weedle fits the location.
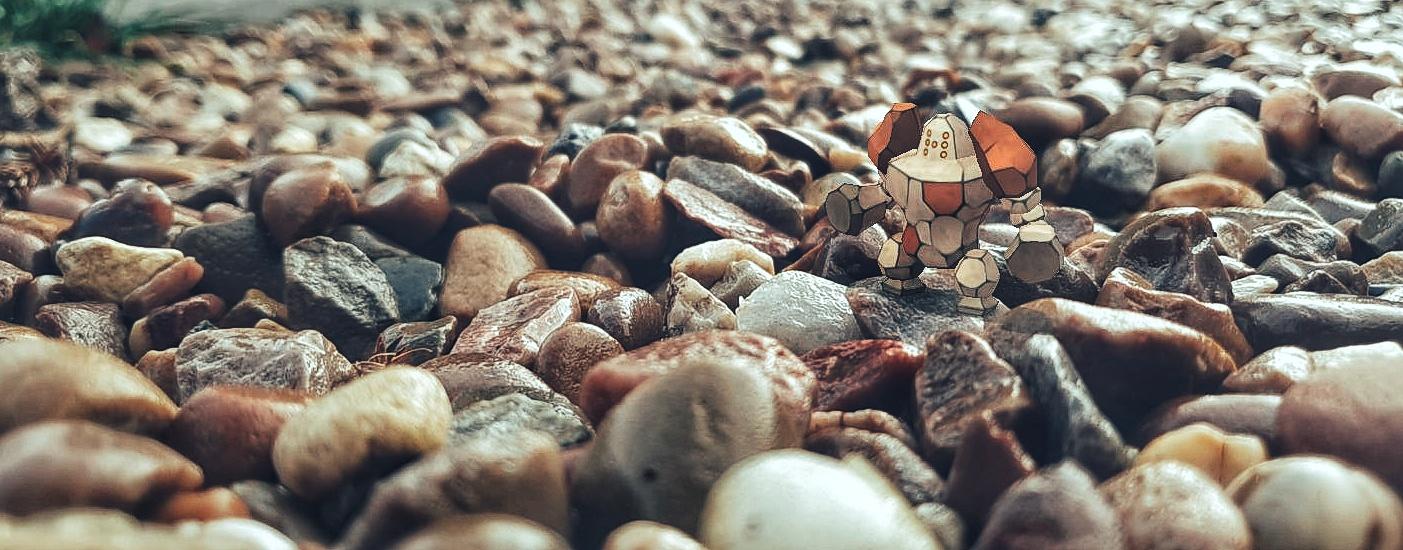
Regirock was a harder one for me, as ideally a mountain range would be the perfect spot. I saw this gravelled location and decided to utilise the Tiny Pokémon technique to fit their Rock typing in a more accessible way.
What is your Pokémon known for?
Another thing to consider in location is what is your Pokémon known for? Does it have a particular look or theme that would suit a certain location? The Timburr is known for carrying building materials, so would suit a construction area (if you have safe access!), Fighting types could suit a gym or boxing ring, Psychic types could fit a circus or gothic setting.
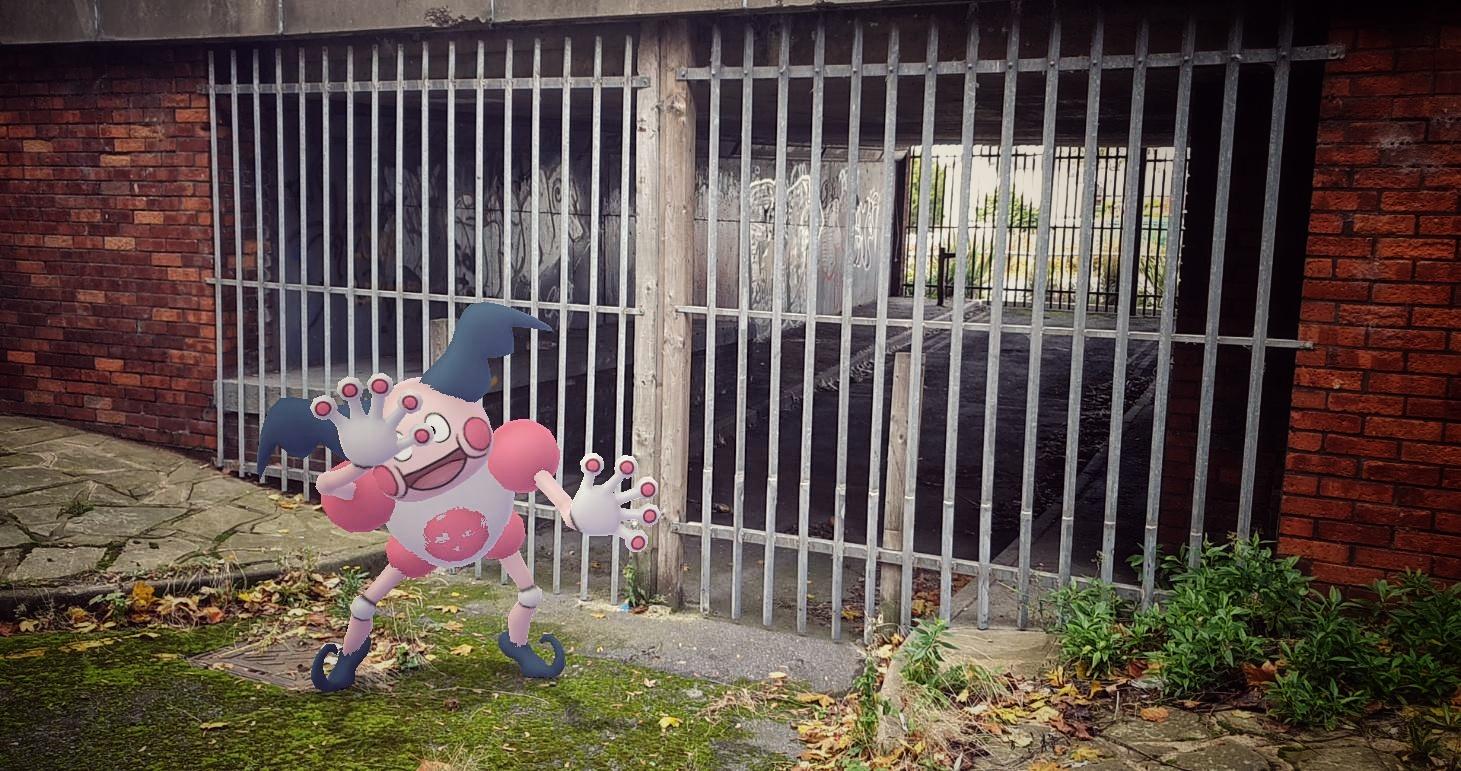
I know I’m not the only one who finds Mr. Mime on the creepy side, so this eerie tunnel and gate that he could appear to be luring you into seemed spot on! Sort of Pennywise the Clown inspired, a bit horror movie-esque.
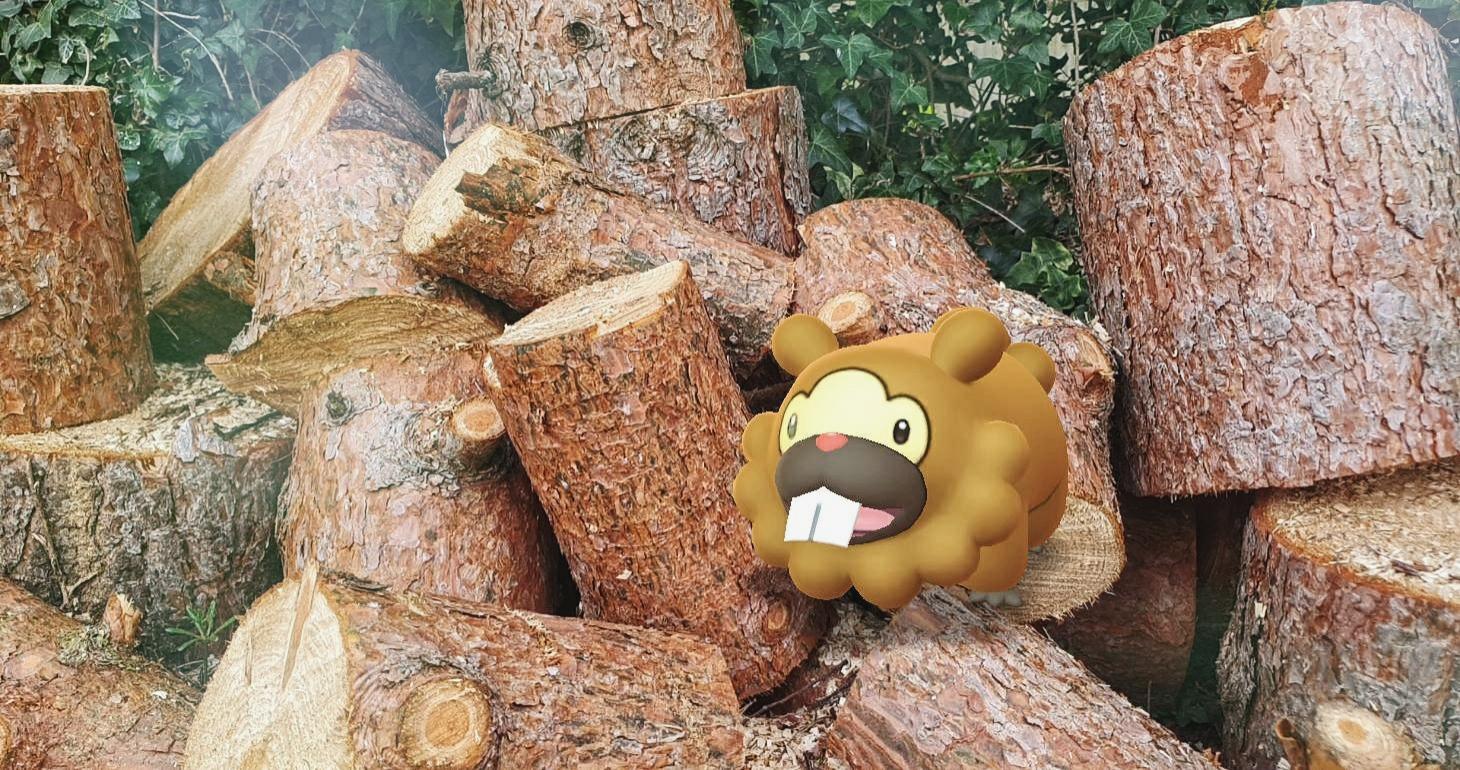
What could fit Bidoof more than a log pile? This beaver inspired Pokémon is right at home in this setting, ready to chomp away!

As a Pokémon with a bit more ‘attitude’ and more humanoid design, Machop could totally be seen hanging around a graffiti covered underpass like a naughty teenager. I used the Bokehmon technique here to give the image a more photorealistic feel.
Weather
Weather is another key thing to keep in mind, it can totally change a location and make it a lot more fitting to your Pokémon typing than it normally would be.
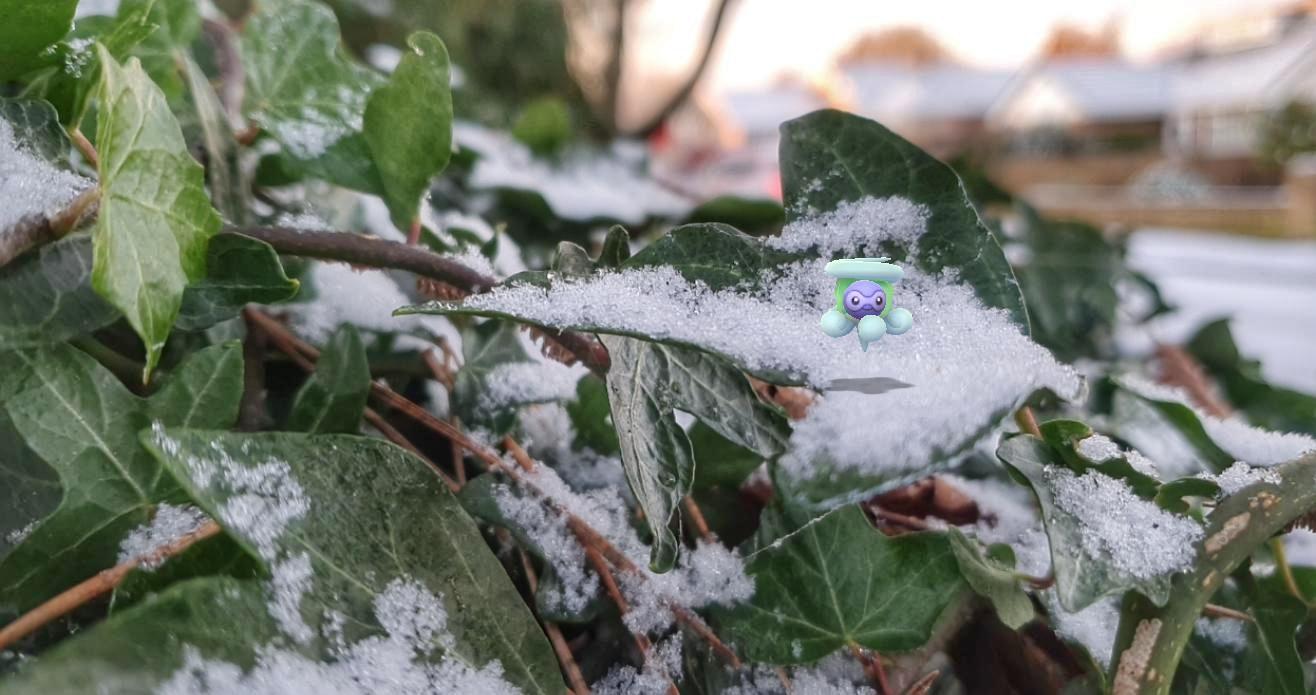
As soon as snow is on the ground, those Ice types can shine in any location! You might not have access to snowy mountain ranges, but if you can safely get outside in the snow, even the smallest location becomes fitting. I spotted this ivy out on a walk and thought a tiny Snowy Castform might just hover around them.
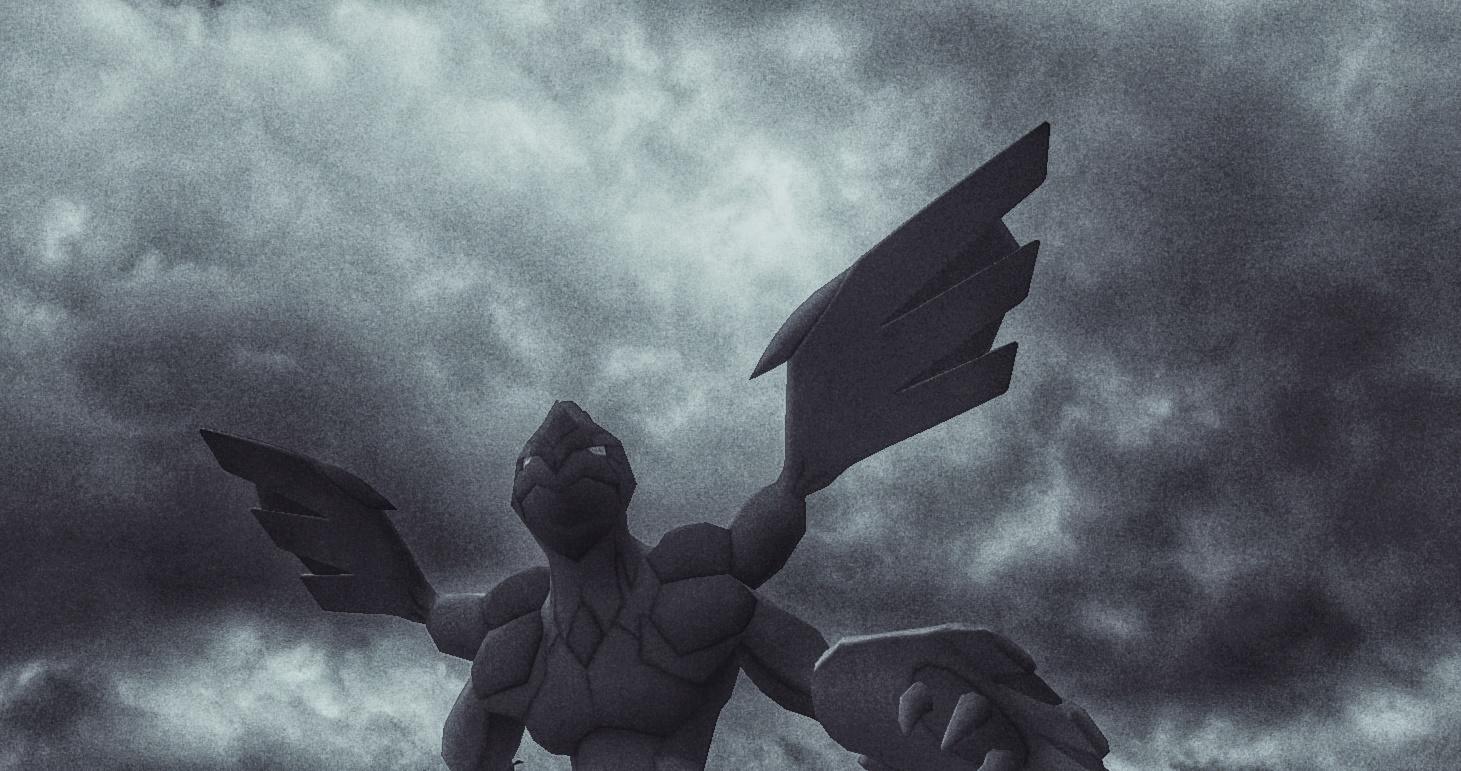
When the skies are dark and stormy, Zekrom is the first Legendary Pokémon who sprang to mind for me! I often find Legendaries a little trickier to photograph with their gigantic size, but as I only wanted to include the sky, a super low angle looking up into the storm with some editing for a more black and white feel made for a haunting image.
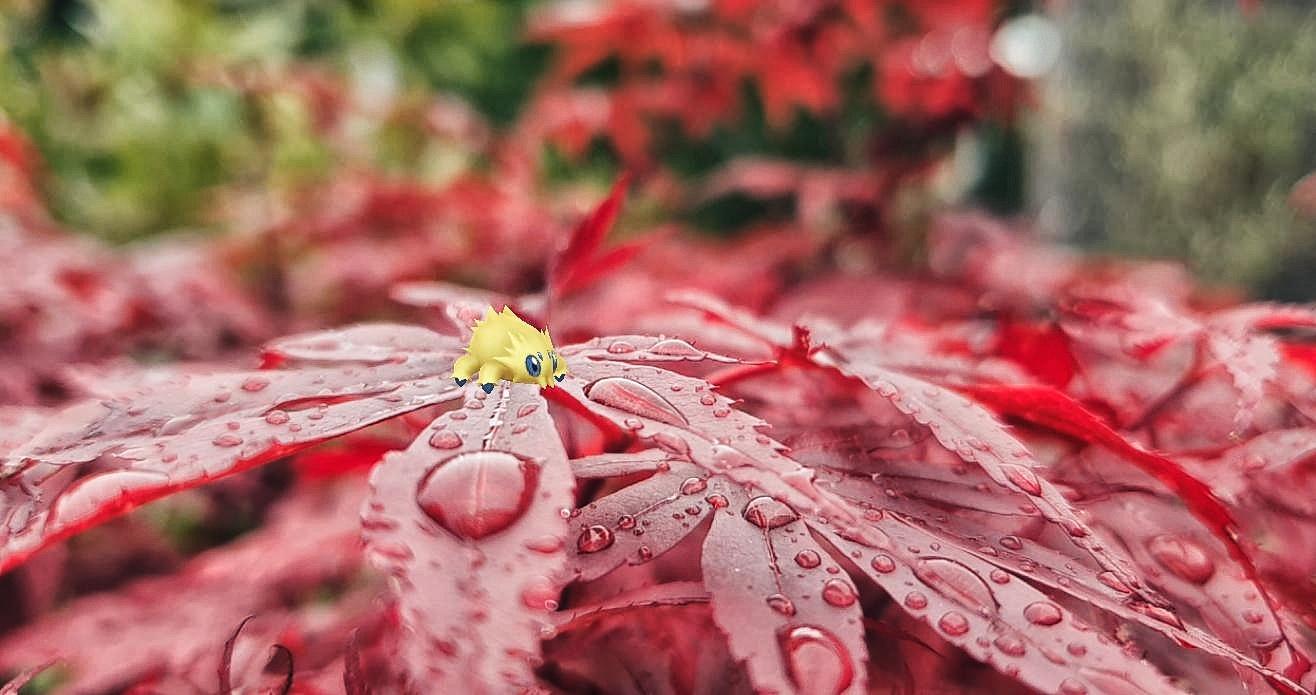
Leaves after the rain can really add to a photograph if you’ve mastered your Tiny Pokémon technique. This Joltik photo is so much more interesting because of the rain droplets, and a little sharpening in Snapseed can go a long way to keep the image super crisp and sharp.
Matching Colour and Shapes
You don’t always have to opt for the most realistic setting possible, looking at the colours of your Pokémon, and matching them in with a location, can be a really aesthetically pleasing look, in a location you might not normally have thought of using. Locations that mimic the shape of your Pokémon can also work really well, and accentuate certain design aspects of them.
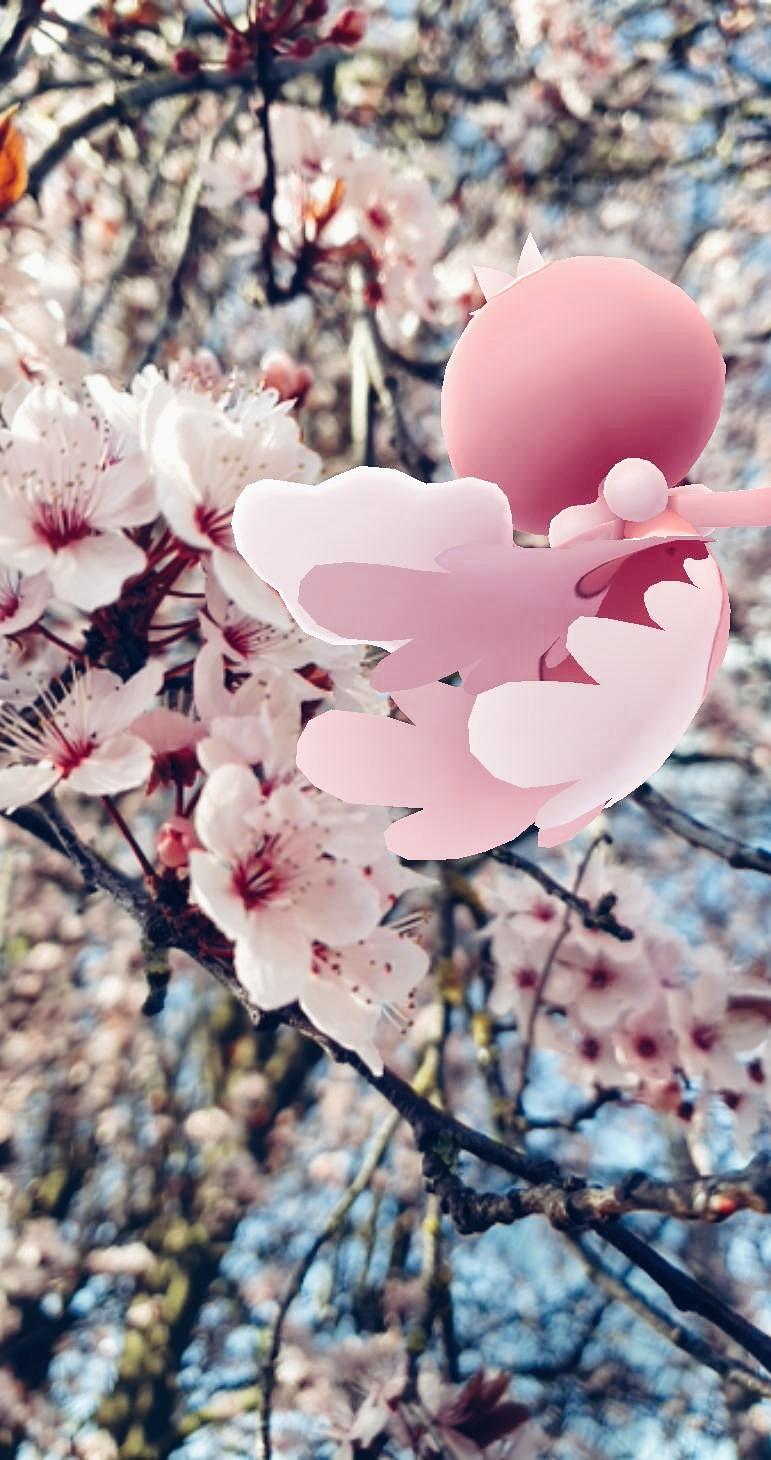
Frillish makes zero sense in a spring blossom tree location, but the colour tones match Frillish so well that it works! The shape of the blossoms matches up with the shapes of Frillish’s tentacles, and the pollen in the blossom almost mimics their ‘crown’ area on top of their head.
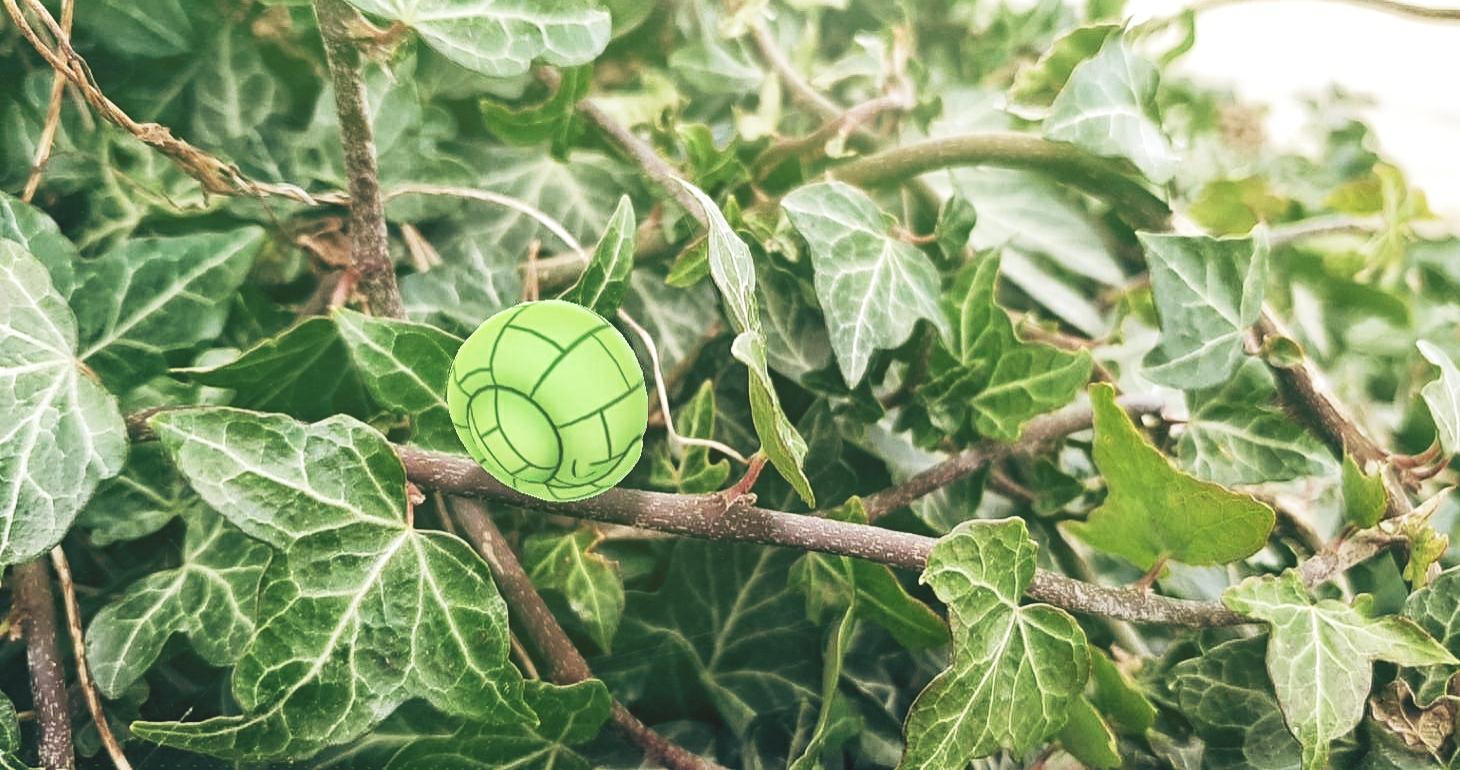
Sandshrew in an ivy covered area? A Ground type? (Yes, I love ivy, I use it a lot in my photos!). Type wise it doesn’t make sense, but the green of the shiny and the vines fit the animation so well.
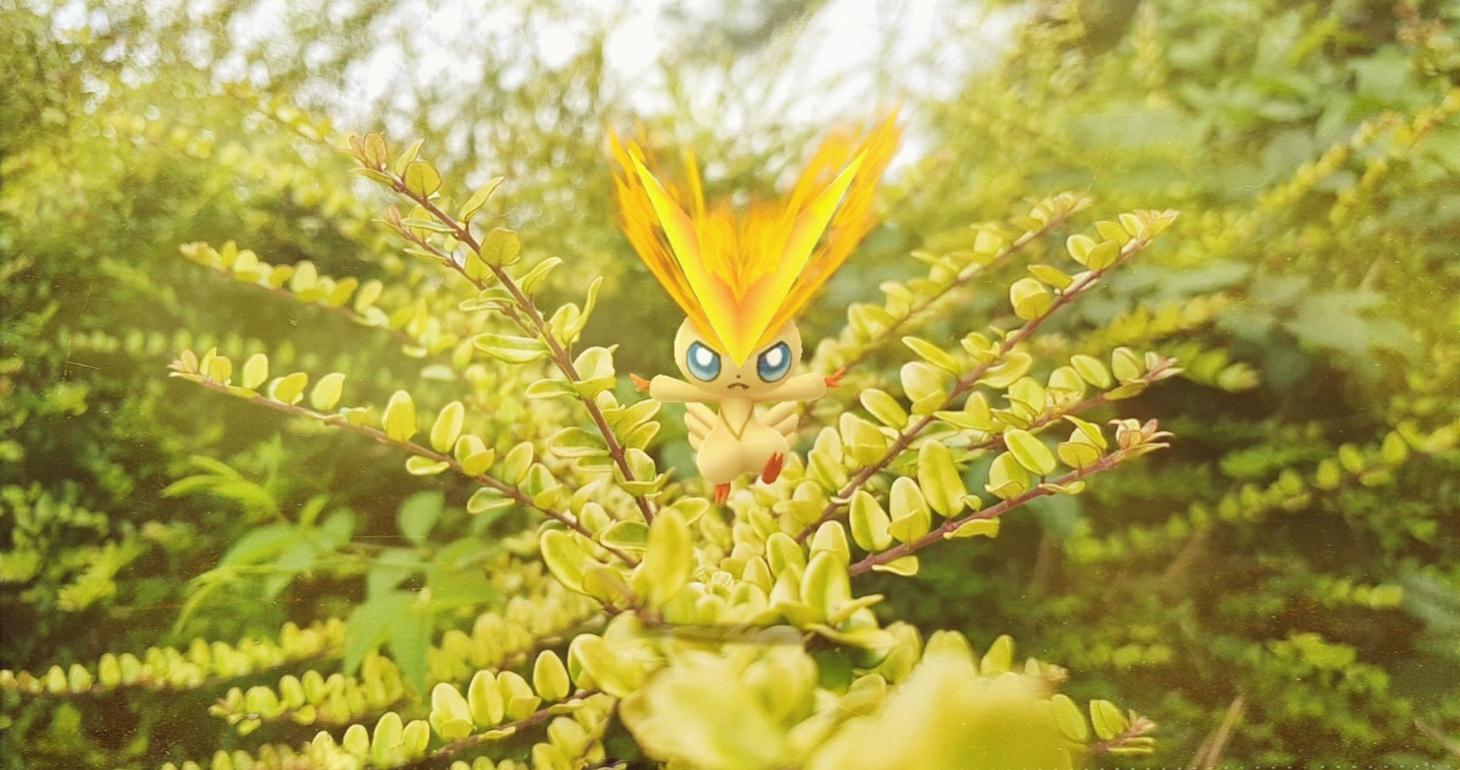
I spotted this unruly hedge during GO Fest and felt the ‘V’ shape of the protruding branch just worked with Victini’s fiery eyebrows. Victini really doesn’t make sense with the environment, in fact, I’d argue it’s pretty risky for a Fire type to hang around so much greenery, but it works because of the shapes.
Indoor Locations
If you don’t have access to a garden, or live in a city, don’t feel defeated, there are plenty of locations in your own home you can utilise! I often find myself thinking of AR photos when I’m visiting new places, even indoors, because it can be surprising where inspiration comes.

Are you even an AR photographer if you visit an aquarium and don’t take photos of your Pokémon in it? Frillish and these blue jellyfish were just meant to be. You could never take this sort of photo in the wild, but at the aquarium, absolutely! I took this in standard AR mode for speed and ease, with a tiny colour edit to make sure Frillish looked more natural.
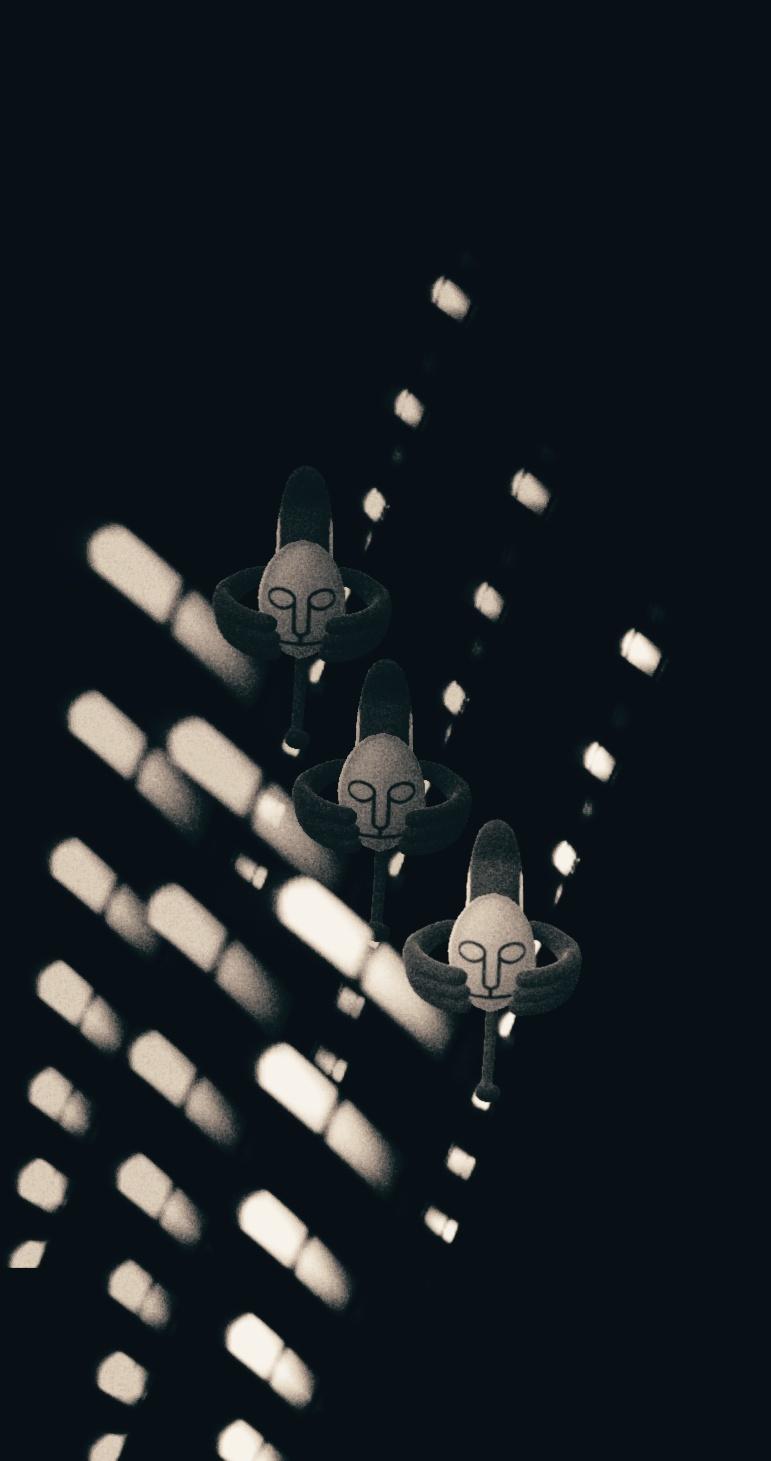
I used a light we have in our garden shed for this, and used Snapseed to copy the same photo three times with some transparency, to make a more creepy photo for this Ghost type. Lights can be a really effective way to create something different, without needing access to a location or ability to travel.
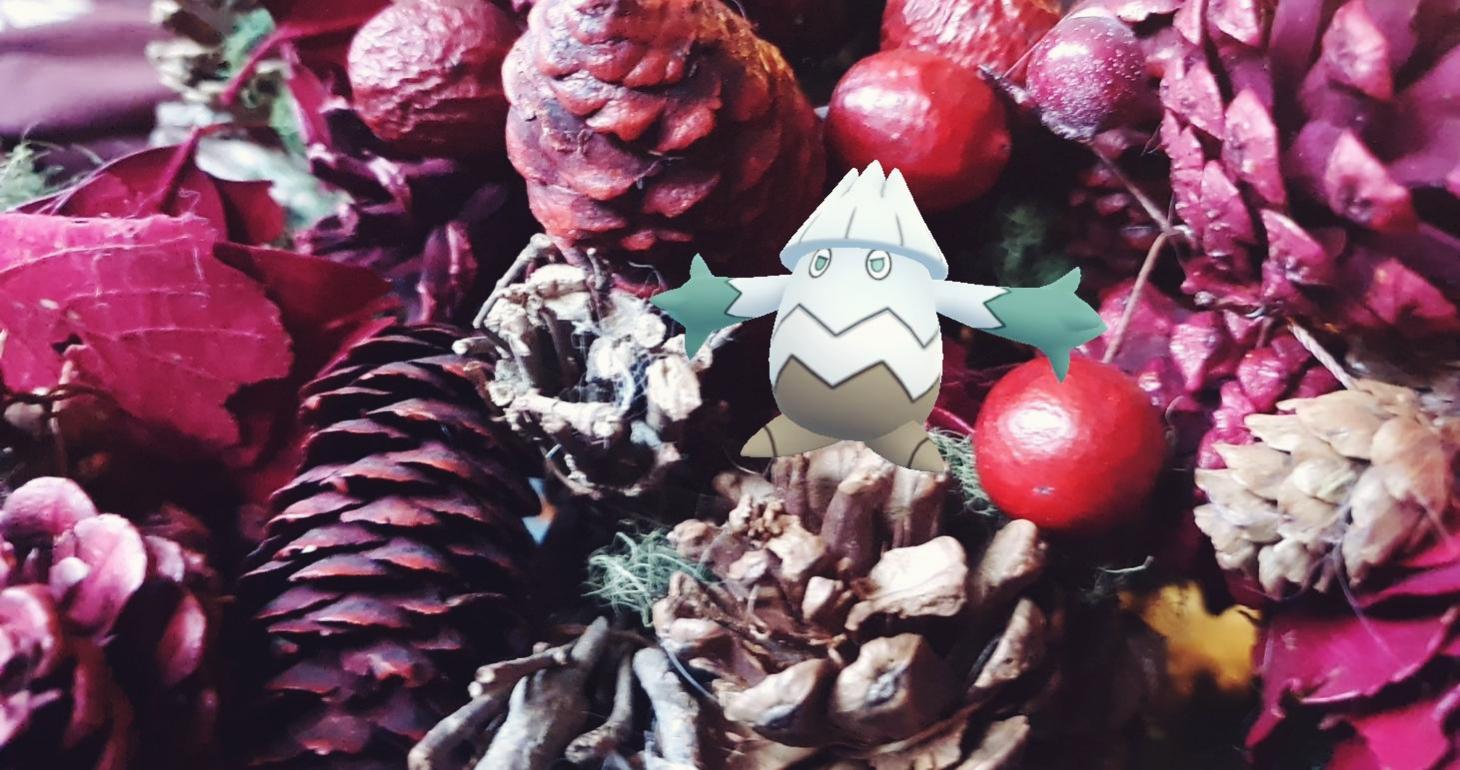
I took this photo of Snover in a Christmas wreath I have, perfect sort of setting for an Ice type, but indoors, and therefore doesn’t need much space!
Tiny Pokémon
Tiny Pokémon is the easiest way to make use of a smaller environment, and I talk about how to do this extensively here. If you have a pretty hedge or flowers, or see a tree you like on a walk, make your Pokémon small and use that environment, you don’t have to have a lot of space to make nature work for you.
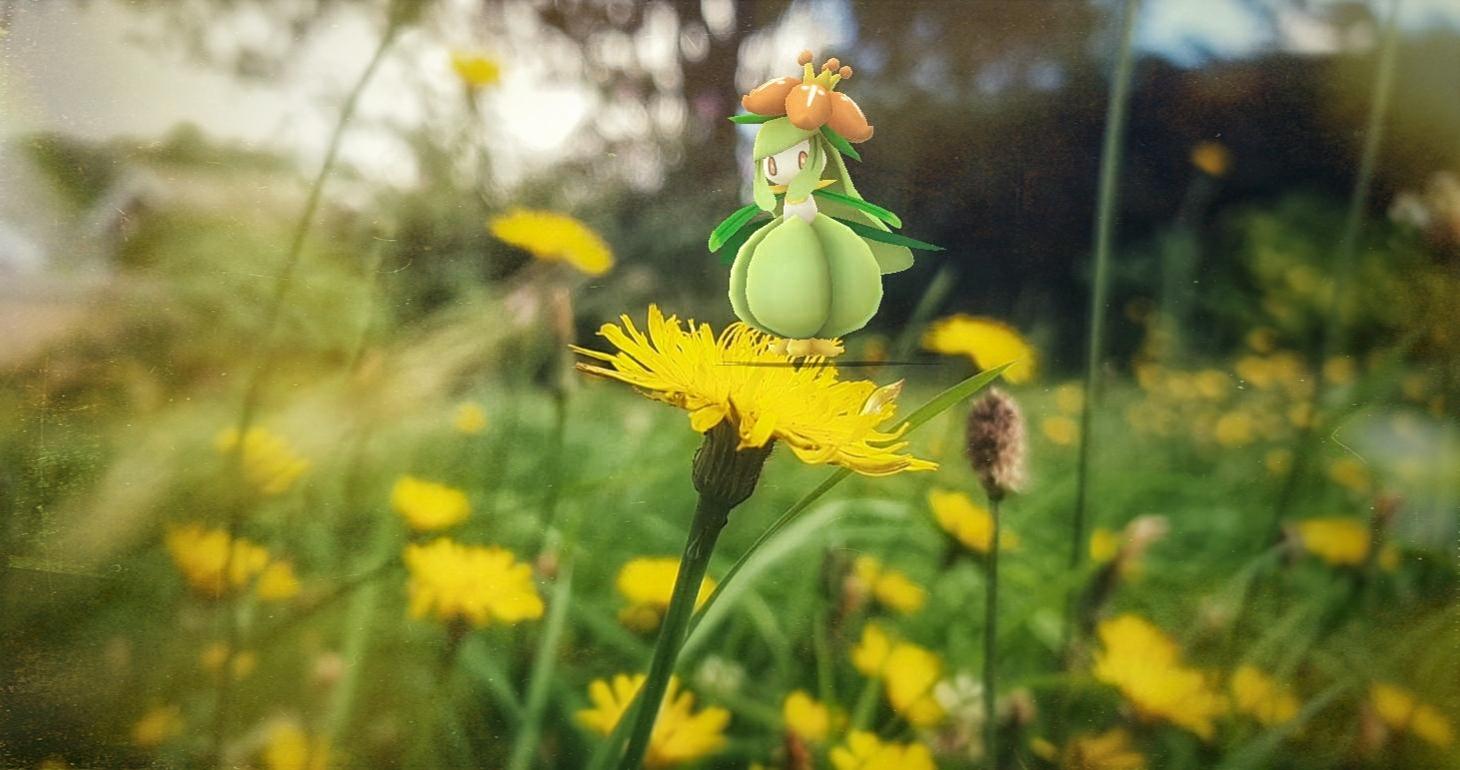
My overgrown patch of lawn worked well for this pretty Lilligant, and all it required was a small area of weeds!
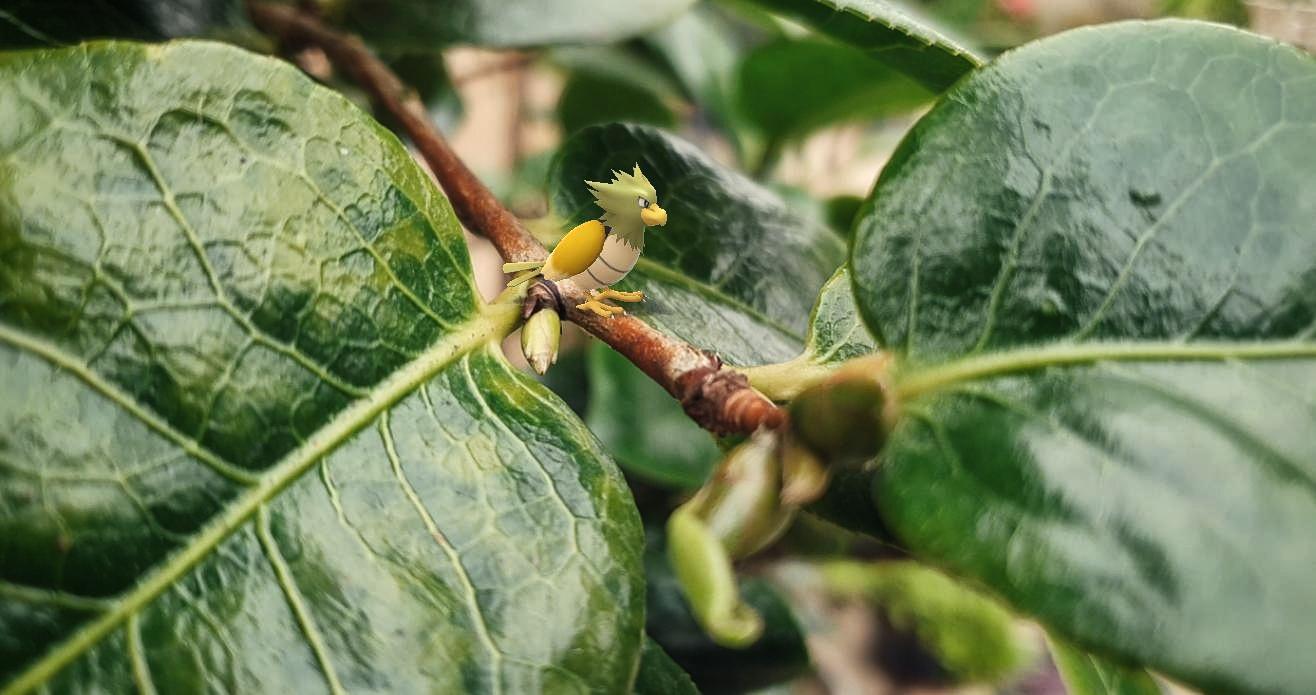
I spotted this shiny leaved tree on my parent’s patio and thought it would work well with a tiny Pokémon, so my newly caught shiny Spearow got to hide amongst the leaves.
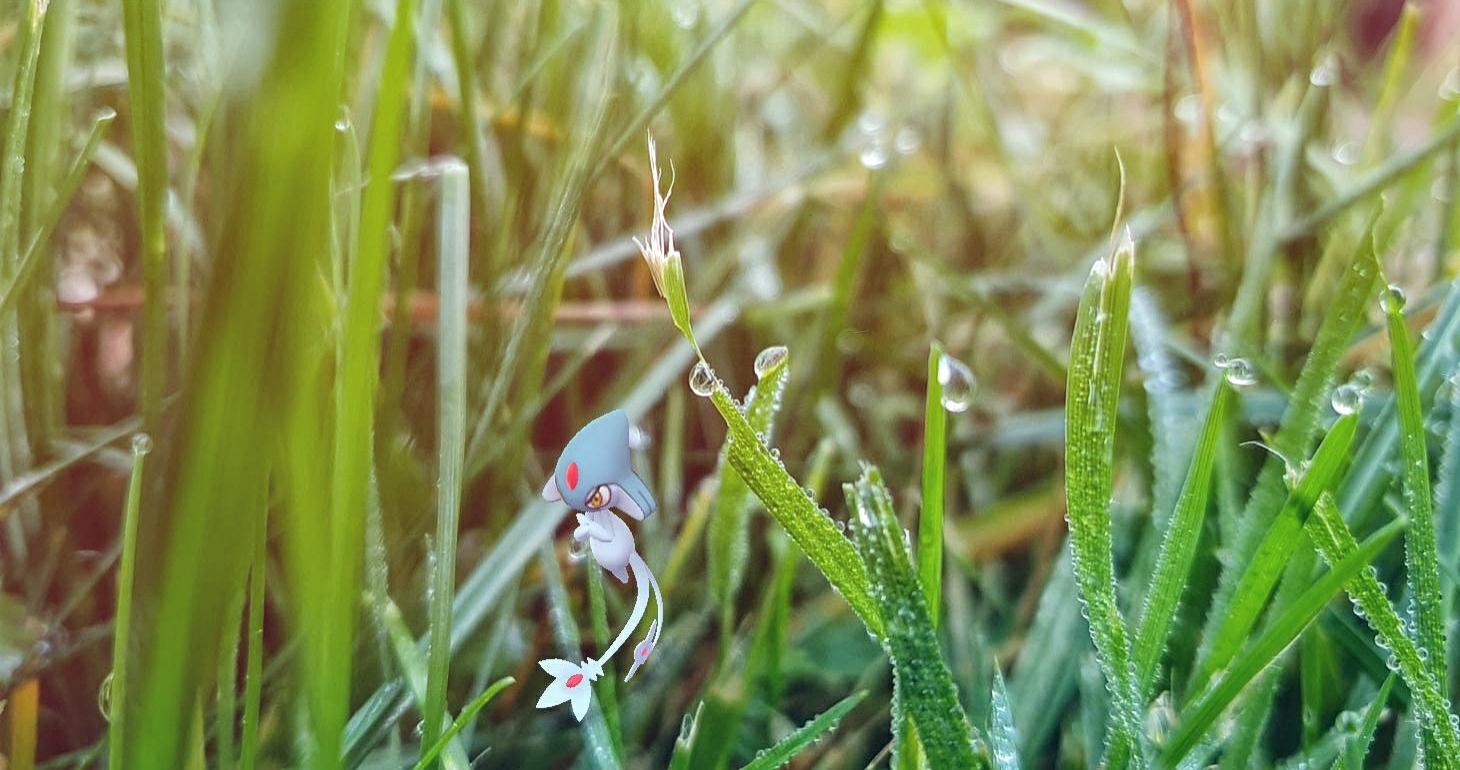
A spot of rain, and some long grass, and Azelf had a place to shine. The smallest areas can be really pretty and effective, you just have to think outside of the box.
Most of these examples needed less than a foot of nature to be able to take the photos, in fact, the Azelf is probably in an area only a couple of inches across, and they work.
Conclusion
Which Pokémon do you want to photograph? What is their typing? Their colour? Are they known for any particular activity? Or do you have a particular location in mind? If so, what Pokémon will work for that location? Make what you have access to work for you, and not the other way around. It may be fun to take a trip out to nature to photograph your Pokémon, but you can easily make use of much smaller local environments that are accessible to you, and make great AR photos still!