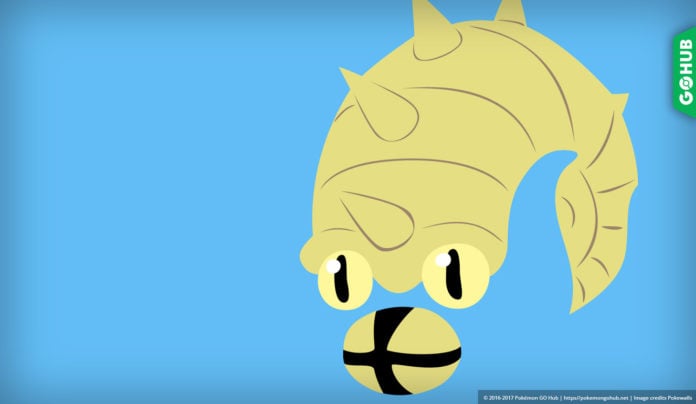
Omastar Solo Raid can be successfully completed at level 30 (or higher) with powerful Grass, Fighting and Electric types. Omastar ranks as a mid-tier challenge when it comes to solo raiding difficulty. Omastar has a Raid Boss CP of 19576. Omastar solo raid counters are heavily based around his double weakness to Grass.
Catch CP Ranges for Omastar:
- 1517 – 1592 CP (level 20, non boosted)
- 1897 – 1990 CP (level 20, boosted by Partly Cloudy and Rainy)
Omastar solo counters
Omastar has a double weakness to Grass, which makes picking counters rather trivial. Your best (and only viable) option are high DPS Grass types, especially Roserade. Roserade destroys Omastar with ease, faints only once and performs well under 60 seconds at level 30.
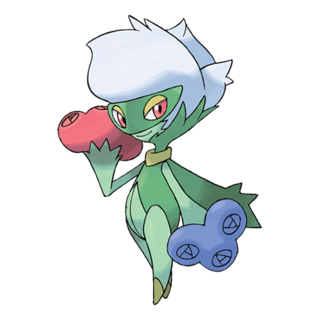 Roserade
|
Razor Leaf Grass | Grass Knot Grass |
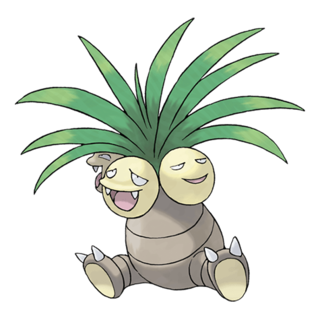 Exeggutor
|
Bullet Seed Grass | Solar Beam Grass |
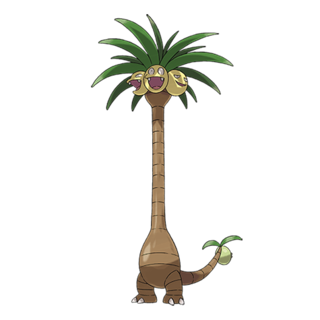 Exeggutor (Alola)
|
Bullet Seed Grass | Solar Beam Grass |
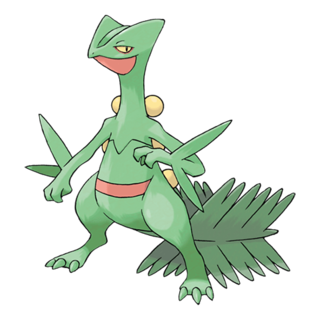 Sceptile
|
Bullet Seed Grass | Frenzy Plant Grass |
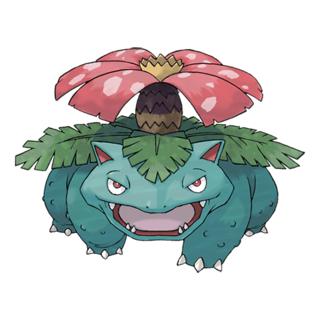 Venusaur
|
Razor Leaf Grass | Frenzy Plant Grass |
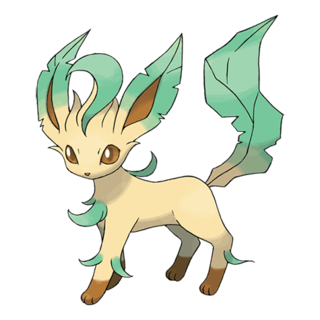 Leafeon
|
Razor Leaf Grass | Leaf Blade Grass |
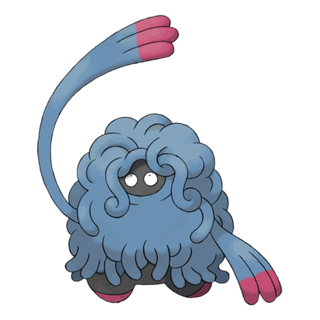 Tangrowth
|
Vine Whip Grass | Solar Beam Grass |
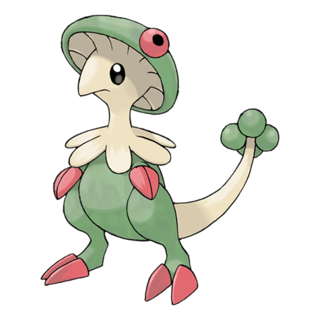 Breloom
|
Bullet Seed Grass | Grass Knot Grass |
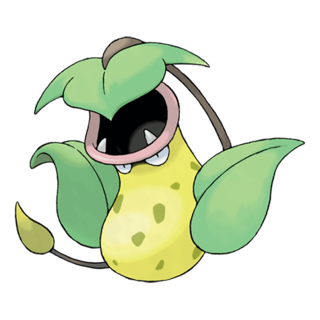 Victreebel
|
Razor Leaf Grass | Leaf Blade Grass |
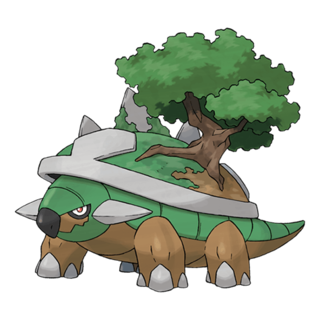 Torterra
|
Razor Leaf Grass | Solar Beam Grass |
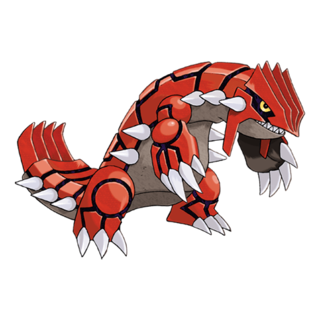 Groudon
|
Mud Shot Ground | Solar Beam Grass |
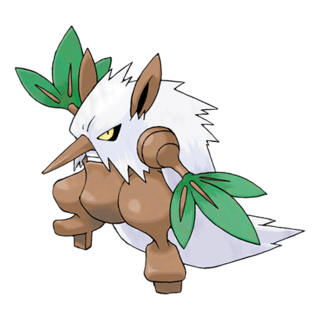 Shiftry
|
Razor Leaf Grass | Leaf Blade Grass |
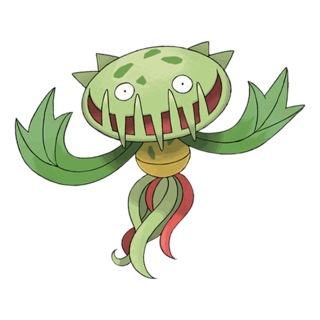 Carnivine
|
Vine Whip Grass | Power Whip Grass |
Omastar moveset
To start, Omastar has a raid boss CP of 18915, with access to the following moves:
- Water Gun (fast – Water type)
- Mud Shot (fast – Ground type)
- Hydro Pump (charge, 1 bar, Water type)
- Rock Blast (charge, 3 bars, Rock type)
- Ancient Power (charge, 3 bars, Rock type)
Mud Shot and Hydro Pump is the weakest move set to go against. Mud Shot has a base power of only 5 and does not receive STAB. Hydro Pump (130 DMG) is a 1 bar charge move, which means it won’t be using it as often. A move set of Water Gun and Ancient Power would be the hardest to solo. Ancient Power (70 DMG) is a 3 bar charge move, meaning it will be used more in battle. These attacks would be boosted in Rainy / Partly Cloudy weather making it more difficult to solo. Regardless of weather, it’s possible to take down Omastar!
Below is a visual representation of the move set difficulty from roughly easiest to hardest based on their damage output totals added together, STAB calculated, weather boosts, and charge moves based off of a single energy cycle:
| Quick | Charged | Weather |
|---|---|---|
| (easiest) Mud Shot (5) | Hydro Pump (156) | – |
| Water Gun (6) | Hydro Pump (156) | – |
| Mud Shot (6) | Hydro Pump (156) | Sunny |
| Mud Shot (5) | Rock Blast (50) | – |
| (medium) Mud Shot (5) | Ancient Power (70) | – |
| Water Gun (7) | Hydro Pump (182) | Rainy |
| Water Gun (6) | Rock Blast (70) | Partly Cloudy |
| Mud Shot (5) | Ancient Power (98) | Partly Cloudy |
| (hardest) Water Gun (6) | Ancient Power (98) | Partly Cloudy |
Weather considerations
| Weather | Pros | Cons |
|---|---|---|
| Cloudy | Boosts Fighting moves | – |
| Windy | – | – |
| Snow | – | – |
| Sunny | Boosts Ground and Grass type moves | Boosts Ground moves |
| Rainy | Boosts Water and Electric type moves | Boosts Water moves |
| Fog | – | – |
| Partly Cloudy | – | Boosts Rock moves |
- Sunny weather would be the best weather to attempt soloing Omastar, as it boosts the power of Grass moves. In addition, Sunny boosts Ground moves also, making SB Groudon the strongest all around counter.
- Rainy weather boosts Omastar’s Water moves, but it also increases your damage of Electric moves too. In addition, Omastar level will be boosted, so Rainy an interesting scenario to attempt a solo raid.
- Partly Cloudy weather is where Omastar can get annoying. The added boost to those Rock multi-bar charge moves hurts. With the right counters, you can still come out victorious, but be careful.
Parting words
Note that if you are alone and below Level 30 soloing might be difficult for you. It is not only your trainer level that matters, but the power levels of the Pokemon you are using to raid with as well. It might take some candy and stardust to get your Pokemon up to par to take on a raid boss like Omastar by yourself.
Weather is important, because you can either keep the playing grounds even, harm, or help yourself. So keep an eye on what the current weather is in your game.
The moves that Omastar has also plays an impact on your success in the raid. It is usually hard to tell what moves it has, until you have already used up your raid pass to see what counters the game set for you.
This should be a medium-difficulty raid boss to beat, as Omastar’s move sets have common counters. It has a solid attack and defensive stat, but with the right Pokemon you should be able to take this raid boss down. Pokemon such as Golem and Rhydon, can be useful but they can get destroyed by Omastar’s Water moves (heavy super effective damage). Feel free to use them, just be careful.
All in all, a good Omastar is great to have in the meta game. Get out there and good luck soloing that ancient Pokemon!
Raw Simulator Output
| # | Pokemon | Fast Move | Charge Move | Time to win | Deaths |
|---|---|---|---|---|---|
| 1. | Roserade | Razor Leaf | Grass Knot | 47.8s | 1 |
| 2. | Exeggutor | Bullet Seed | Solar Beam | 50.9s | 1 |
| 3. | Exeggutor | Bullet Seed | Solar Beam | 51.1s | 1 |
| 4. | Sceptile | Fury Cutter | Frenzy Plant | 50.5s | 2 |
| 5. | Venusaur | Vine Whip | Frenzy Plant | 52.8s | 1 |
| 6. | Leafeon | Razor Leaf | Leaf Blade | 52.8s | 1 |
| 7. | Tangrowth | Vine Whip | Solar Beam | 54.1s | 1 |
| 8. | Breloom | Bullet Seed | Grass Knot | 51.2s | 2 |
| 9. | Shaymin | Zen Headbutt | Grass Knot | 54.2s | 2 |
| 10. | Victreebel | Razor Leaf | Leaf Blade | 53.8s | 2 |
| 11. | Torterra | Razor Leaf | Solar Beam | 56.7s | 2 |
| 12. | Meganium | Vine Whip | Frenzy Plant | 61.6s | 1 |
| 13. | Groudon | Mud Shot | Solar Beam | 60.7s | 0 |
| 14. | Vileplume | Razor Leaf | Solar Beam | 58.3s | 2 |
| 15. | Shiftry | Razor Leaf | Leaf Blade | 54.8s | 2 |
| 16. | Carnivine | Vine Whip | Power Whip | 55.7s | 2 |
| 17. | Latios | Dragon Breath | Solar Beam | 63.8s | 1 |
| 18. | Ludicolo | Razor Leaf | Solar Beam | 65.2s | 1 |
| 19. | Gallade | Low Kick | Leaf Blade | 62.6s | 2 |
| 20. | Porygon-Z | Charge Beam | Solar Beam | 61.4s | 2 |
| 21. | Bellossom | Razor Leaf | Leaf Blade | 66.1s | 2 |
| 22. | Shaymin | Zen Headbutt | Grass Knot | 71.4s | 1 |
| 23. | Sunflora | Razor Leaf | Solar Beam | 62.6s | 2 |
| 24. | Cherrim | Razor Leaf | Power Whip | 64.2s | 2 |
| 25. | Cherim | Bullet Seed | Power Whip | 65.3s | 2 |
| 26. | Cacturne | Sucker Punch | Grass Knot | 61.3s | 3 |
| 27. | Machamp | Counter | Dynamic Punch | 72.0s | 2 |
| 28. | Magnezone | Spark | Wild Charge | 74.5s | 2 |
| 29. | Raikou | Thunder Shock | Wild Charge | 72.1s | 2 |
| 30. | Electivire | Thunder Shock | Wild Charge | 69.9s | 3 |

