")
Explore the globe with the Pokémon GO community as your guide! Chart a course to show off your favorite sights, or follow in the footsteps of local Trainers to see what that community loves.
Routes are created by adventurous Trainers, just like yourself! Imagine what you’ll find as you travel another Trainer’s Route—an encounter with your favorite Pokémon? A new friend to share Raid Battles with? Follow a Route and find out!
Routes will help you meet Mateo and partake in his gift exchange, and collect Zygarde Cells!
What are Routes?
A Route is a pre-defined path that you can follow while exploring. These paths may be made by Niantic, official partners or other Trainers, like you!
As you follow a Route, you may discover Pokémon and Items, and completing Routes will grant you rewards. Completing a Route will earn you the badge associated with that Route, featuring a custom photo from the start or end point.
Finding a Route
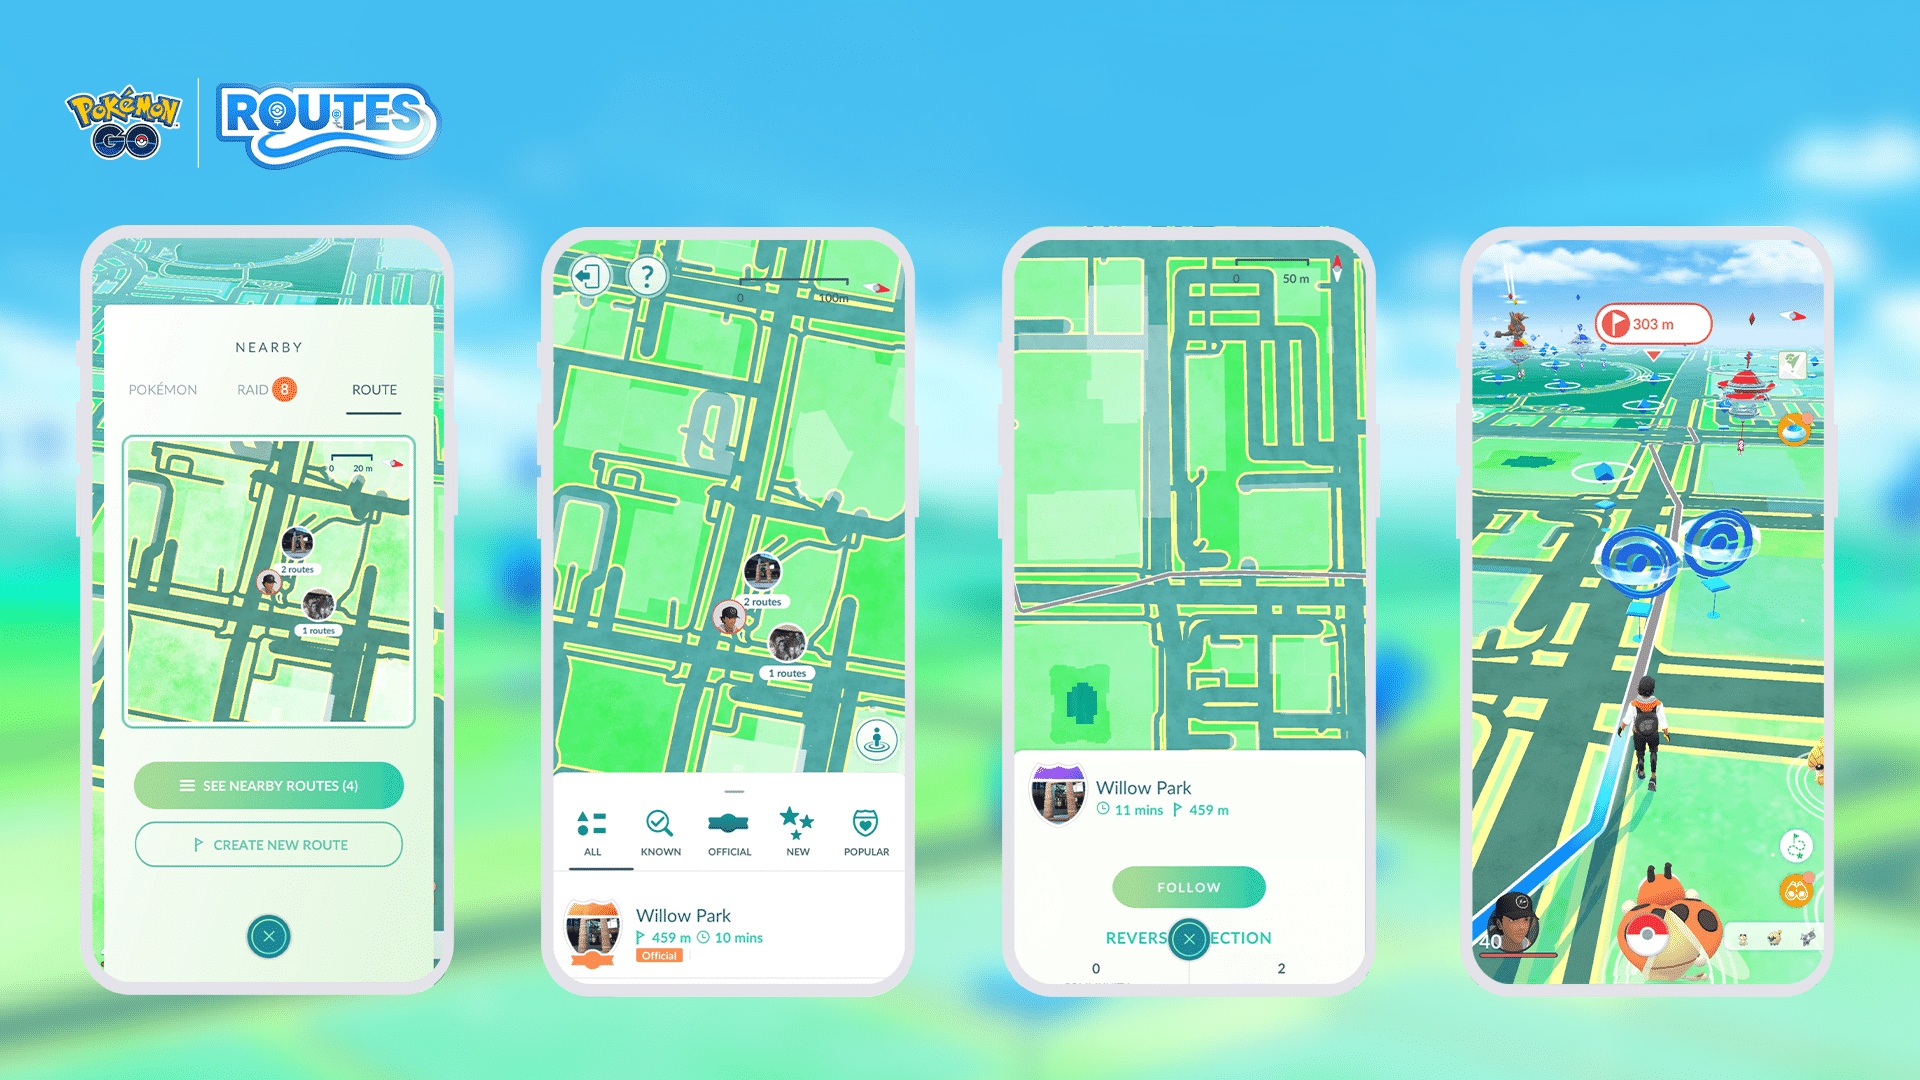
You can see a list of nearby Routes by tapping on the Binoculars menu and tapping on the Route tab. This will show you nearby locations that serve as Route start points. Tap the See Nearby Routes to expand the map and see a list of available Routes.
As you are browsing the Routes list, you can tap on the flag button in the bottom right corner to sort the list by other options. By default, the list will show Routes that are nearest to you.
Tap on a Route to preview it and review the details. You will be able to see how many other Trainers have followed that Route, how many times you have followed the Route, the distance and the approximate amount of time it might take to complete the Route.
Scroll down this page to see Trainer-provided details, including a description of the Route, any Route Tags that have been added to the Route, elevation changes and the original Route creator.
To return to the list of Routes, tap the exit button in the top left corner.

Making a Route
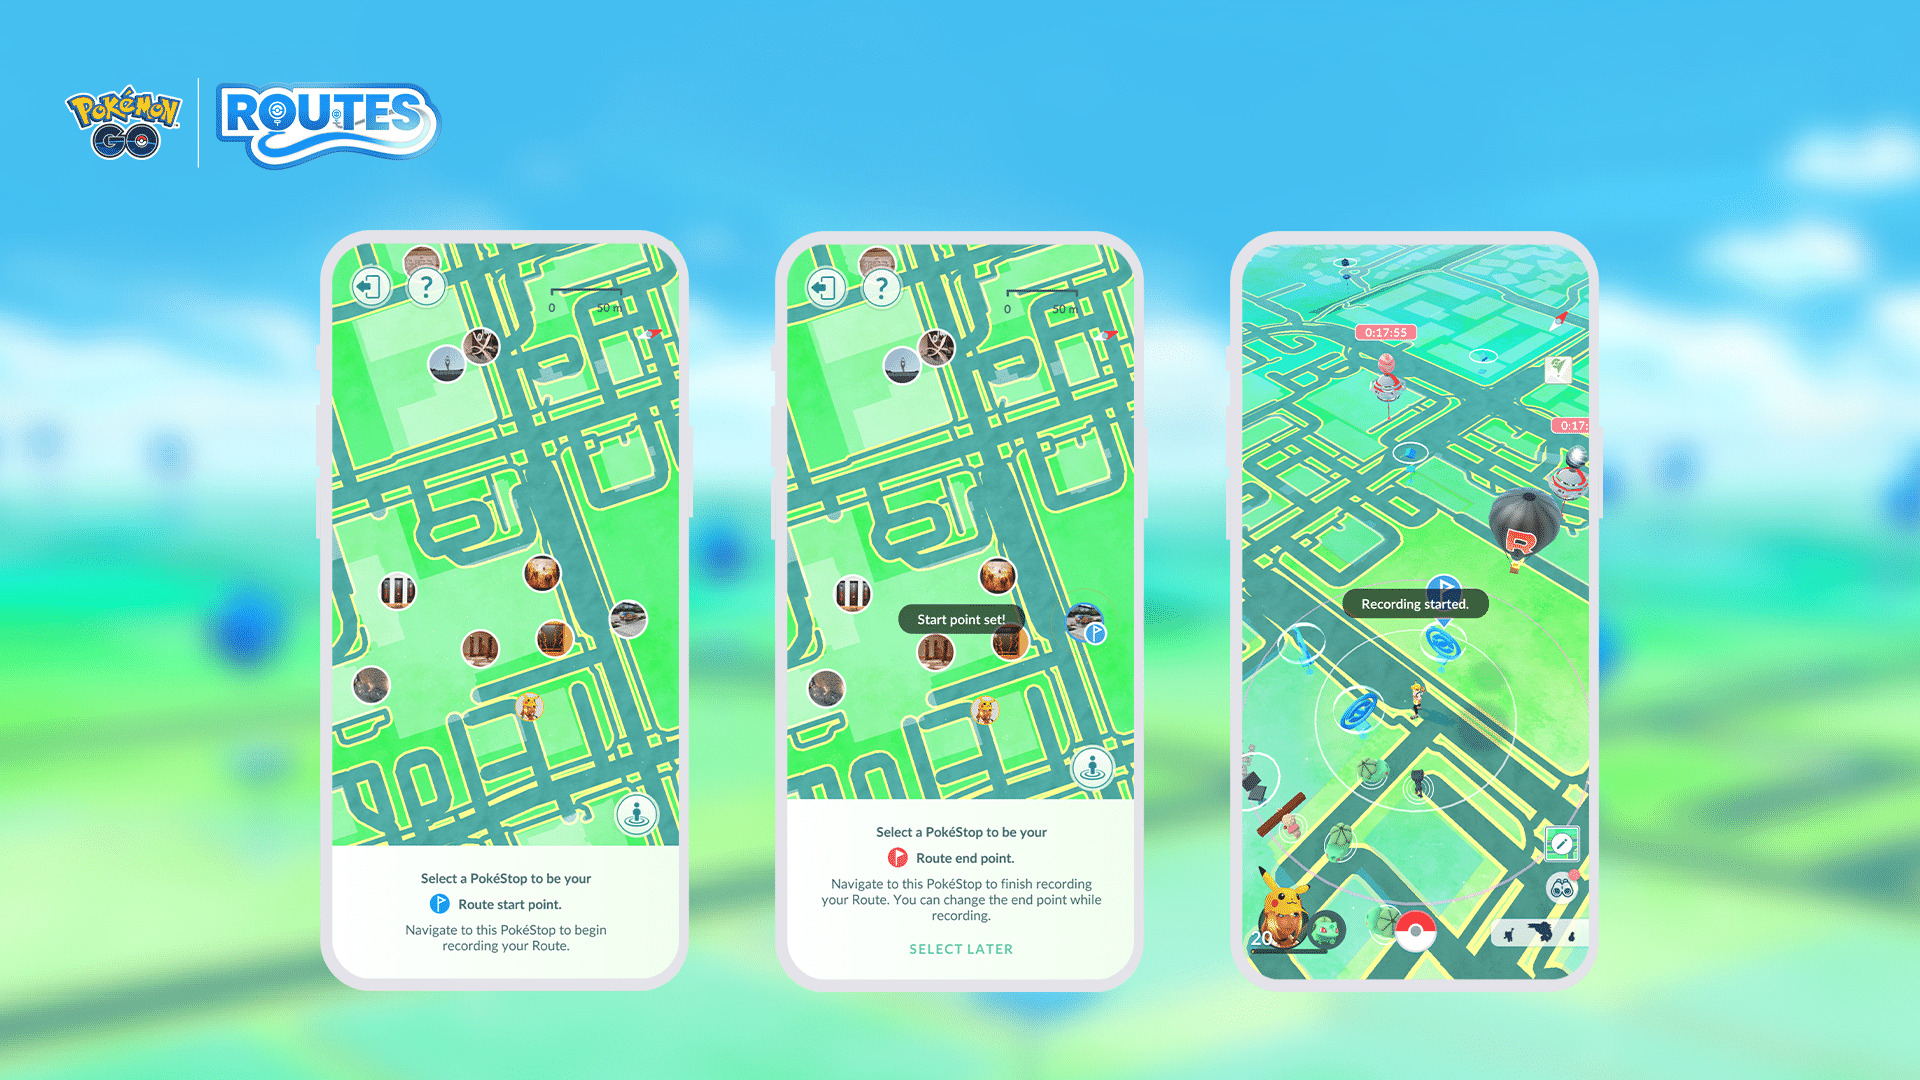
- Choose a PokéStop or Gym to be your starting point.
- Hit record to begin mapping your Route.
- Fill out some info about your Route, then submit it for review.
- Once accepted, Trainers can follow your Route!
Exploring a Route
- Check the Route tab from the Nearby menu to see local Routes.
- Choose one that catches your eye.
- Follow the Route and enjoy exploring!
Once you have found a Route and you are ready to begin, tap the Follow button. Note that the Route will not begin until you have moved close enough to the Route start point. A message will appear on the Map View if you are too far away.
The Route start point will feature a blue flag above the Poké Stop on the Map View. The Route will start automatically once you are close enough to the start point. Note that if you are already close enough to the start point, the Route will begin right away.
Follow the path marked on the Map View to follow the Route. While you are following the Route, the path will change color to show your progress towards completing the Route. Some Routes are able to be followed one-way only, while others can be followed in reverse or are a loop. These options are determined by the Route creator during the creation process. Tap the Route icon above the Binoculars menu at any time to see your active Route’s details.
Pause the Route at any time by tapping the Pause Route button on this page. If you pause a Route, you will need to return to your paused location and tap this button again to resume the Route.
To quit the Route, you can scroll to the bottom of the Route details screen and tap the Quit Route button. You will exit the Route once you tap Quit Route again on the confirmation screen.
Completing a Route
Once you have followed the Route path and have reached the end point, or the start point if the Route is a loop, you will earn the Route Badge! Similar to a Gym Badge, each Route has its own individual Badge that features an image from the start or end point. Complete the same Route multiple times to level up your Route Badge. You can see all of your Route Badges on your Trainer Profile under the Routes section.
After you have reached the end point, you will see a confirmation that you have completed the Route and details of any item rewards you have received for completing the Routes. The Route title, badge and rewards will be recorded in your Journal.
The last step in completing the Route is to give the Route a star rating. Your rating will be used to assess the quality of the Route, but will not be shared publicly. If you have previously given that specific Route a rating, you will not see this screen.
Note that it’s possible to reach the end point of the Route but not complete the Route. This may occur if you didn’t follow the exact path set by the creator. To complete the Route in this case, resume the Route and continue to follow until you have traveled the full Route distance.
Reporting a Route

If you find a Route that is in violation of the Niantic Terms of Service or Player Guidelines, you can submit a report to the Niantic team directly from within Pokémon GO.
From the Route details screen, scroll to the bottom and tap on Report Route. You will be asked a series of questions to gather sufficient information to perform an investigation into the Route. Once you have submitted your Report, note that you may not hear back from Niantic regarding the status of your Report or any action that is taken in response.
You can also report a Route from the rating screen by giving a Route a 1-star rating and tapping the Report Route button.
Zygarde Cells
- Keep an eye out while you’re exploring a Route—you might come across a Zygarde Cell! You can encounter Zygarde cells a maximum of three times per day.
- They will be identifiable as a glowing orb towards the end of your route. Be sure to click on them to collect them before you finish the route!
- Zygarde Cells are the components that make up Zygarde, the Order Pokémon. You can collect Zygarde Cells in your Zygarde Cube and use these cells to change Zygarde’s form.
- Encounter Zygarde in the Special Research story “From A to Zygarde”!
Bonuses for exploring Routes
What’s an adventure without some treasure? There’s an assortment of bonuses to enjoy while exploring Routes!
 Earn Buddy Candy more quickly.
 Pokémon will be more attracted to Incense when you’re exploring a Route for the first time.
 Earn an XP bonus for the first Route you complete each day.
After completing Routes for seven days, you’ll receive an increased XP bonus.
Earn an XP bonus for the first Route you complete each day.
After completing Routes for seven days, you’ll receive an increased XP bonus.
Zygarde Field Report
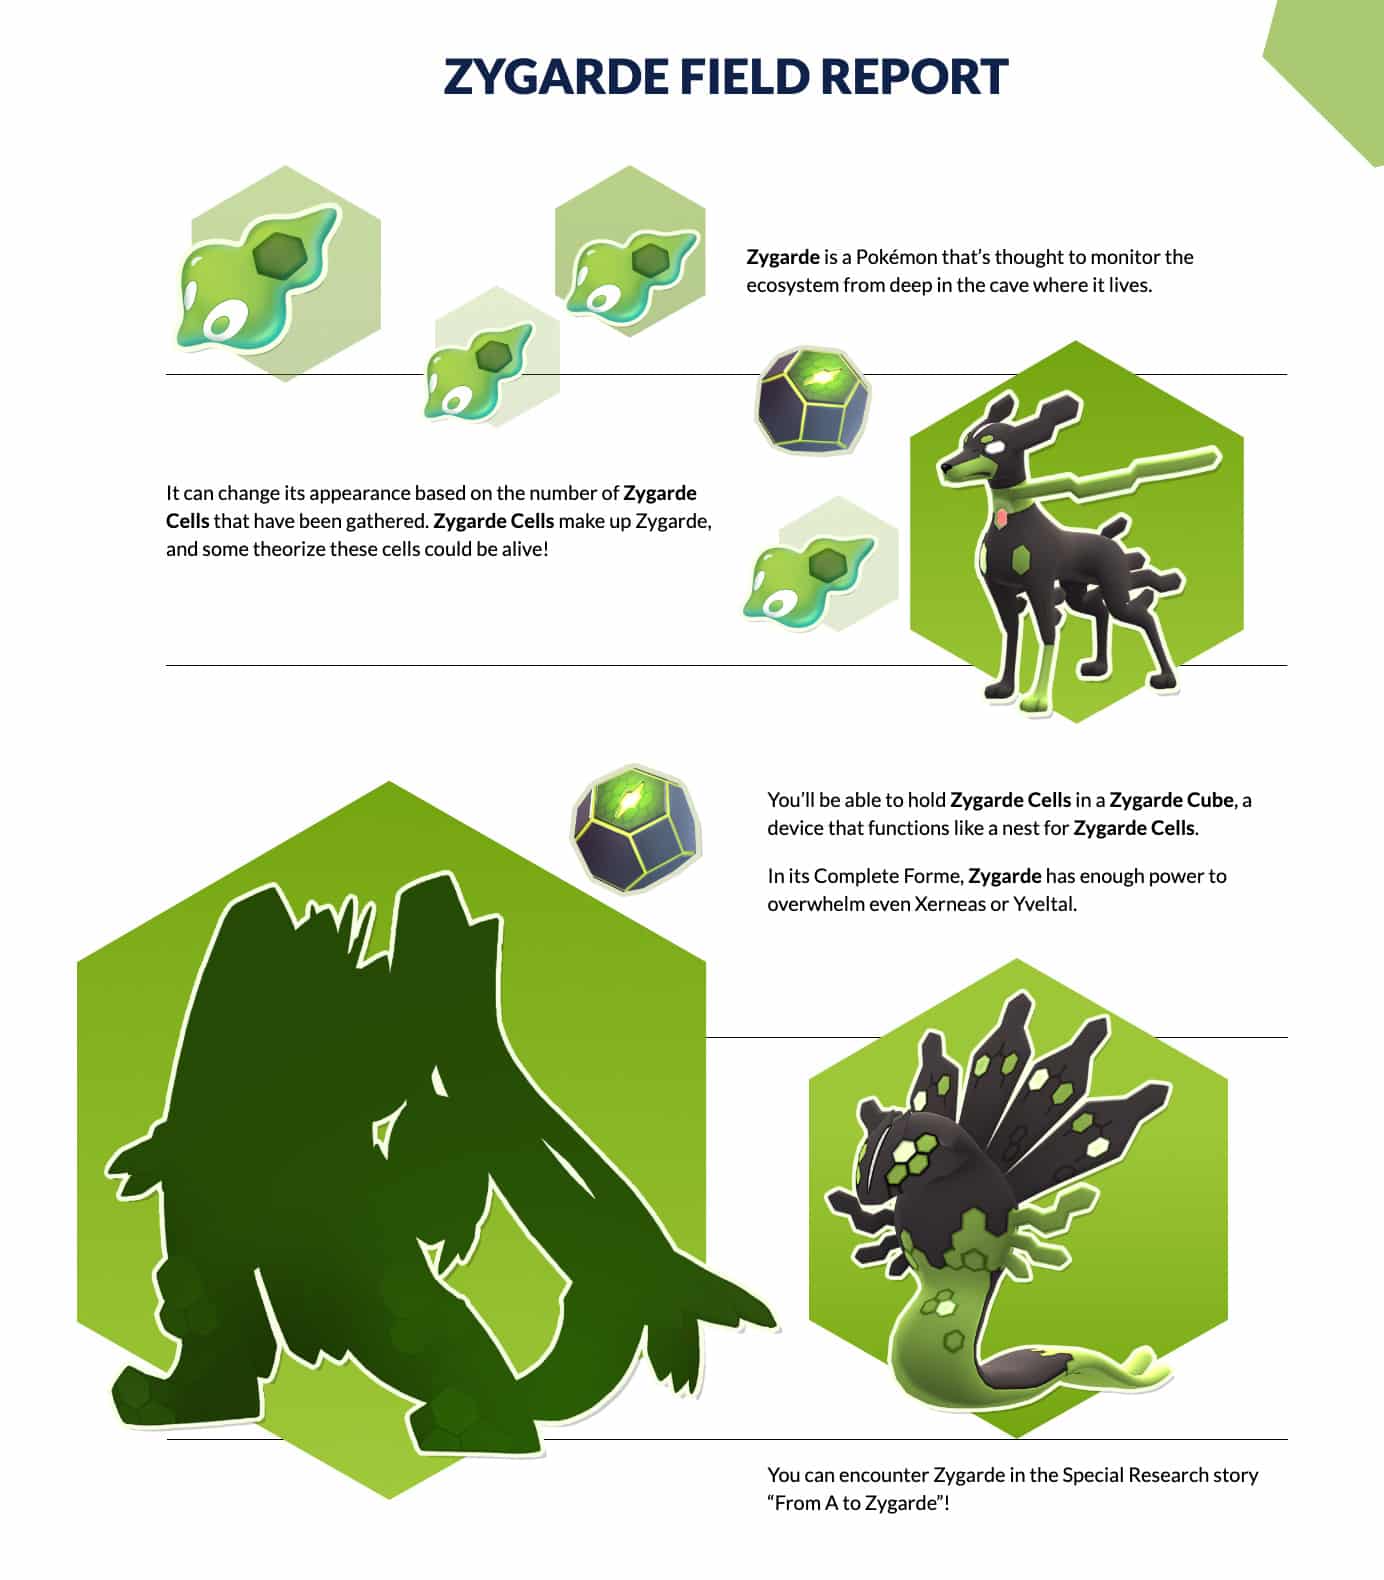
- Zygarde is a Pokémon that’s thought to monitor the ecosystem from deep in the cave where it lives.
- It can change its appearance based on the number of Zygarde Cells that have been gathered. Zygarde Cells make up Zygarde, and some theorize these cells could be alive!
- You’ll be able to hold Zygarde Cells in a Zygarde Cube, a device that functions like a nest for Zygarde Cells.
- In its Complete Forme, Zygarde has enough power to overwhelm even Xerneas or Yveltal.
Routes are Springing around The World!
While all Trainers can explore Routes right now, Route creation is still being rolled out. Keep an eye on your email to see when this is ready for you!
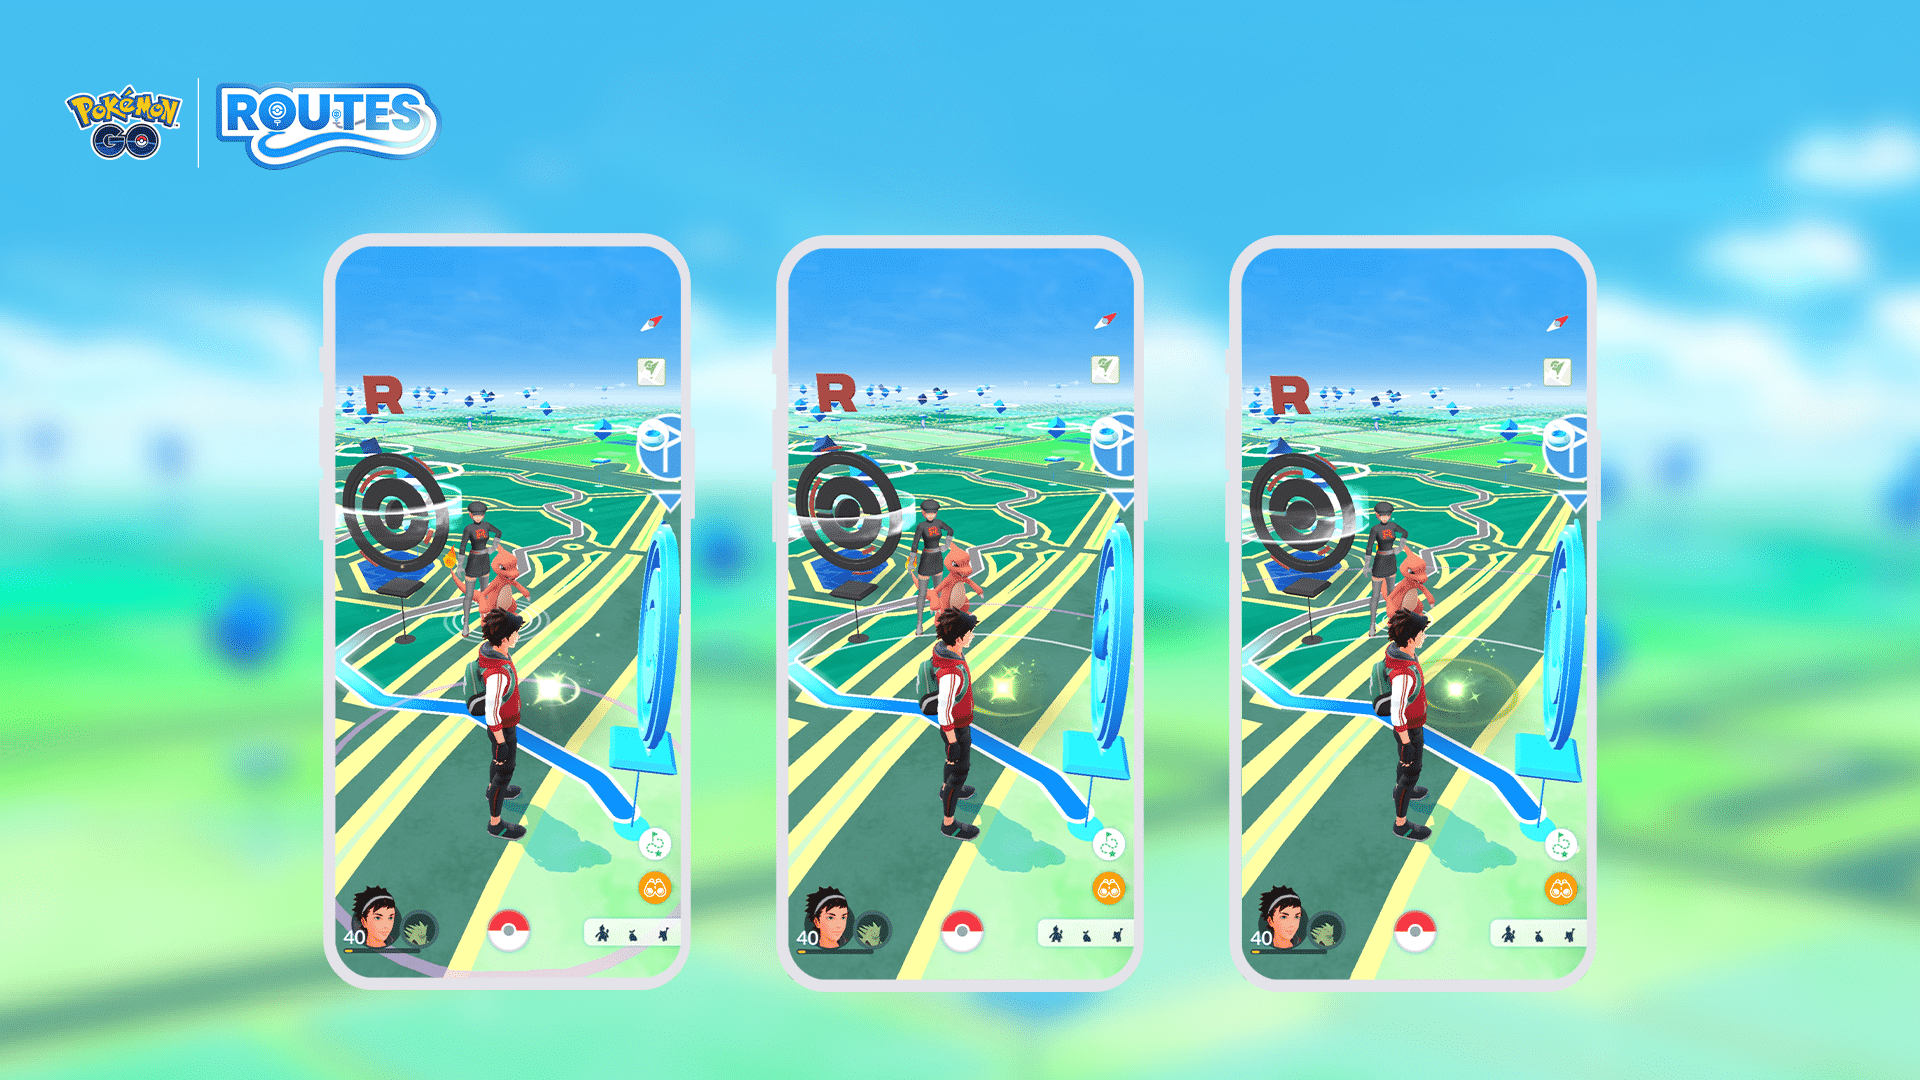
Mateo and the Gift Exchange
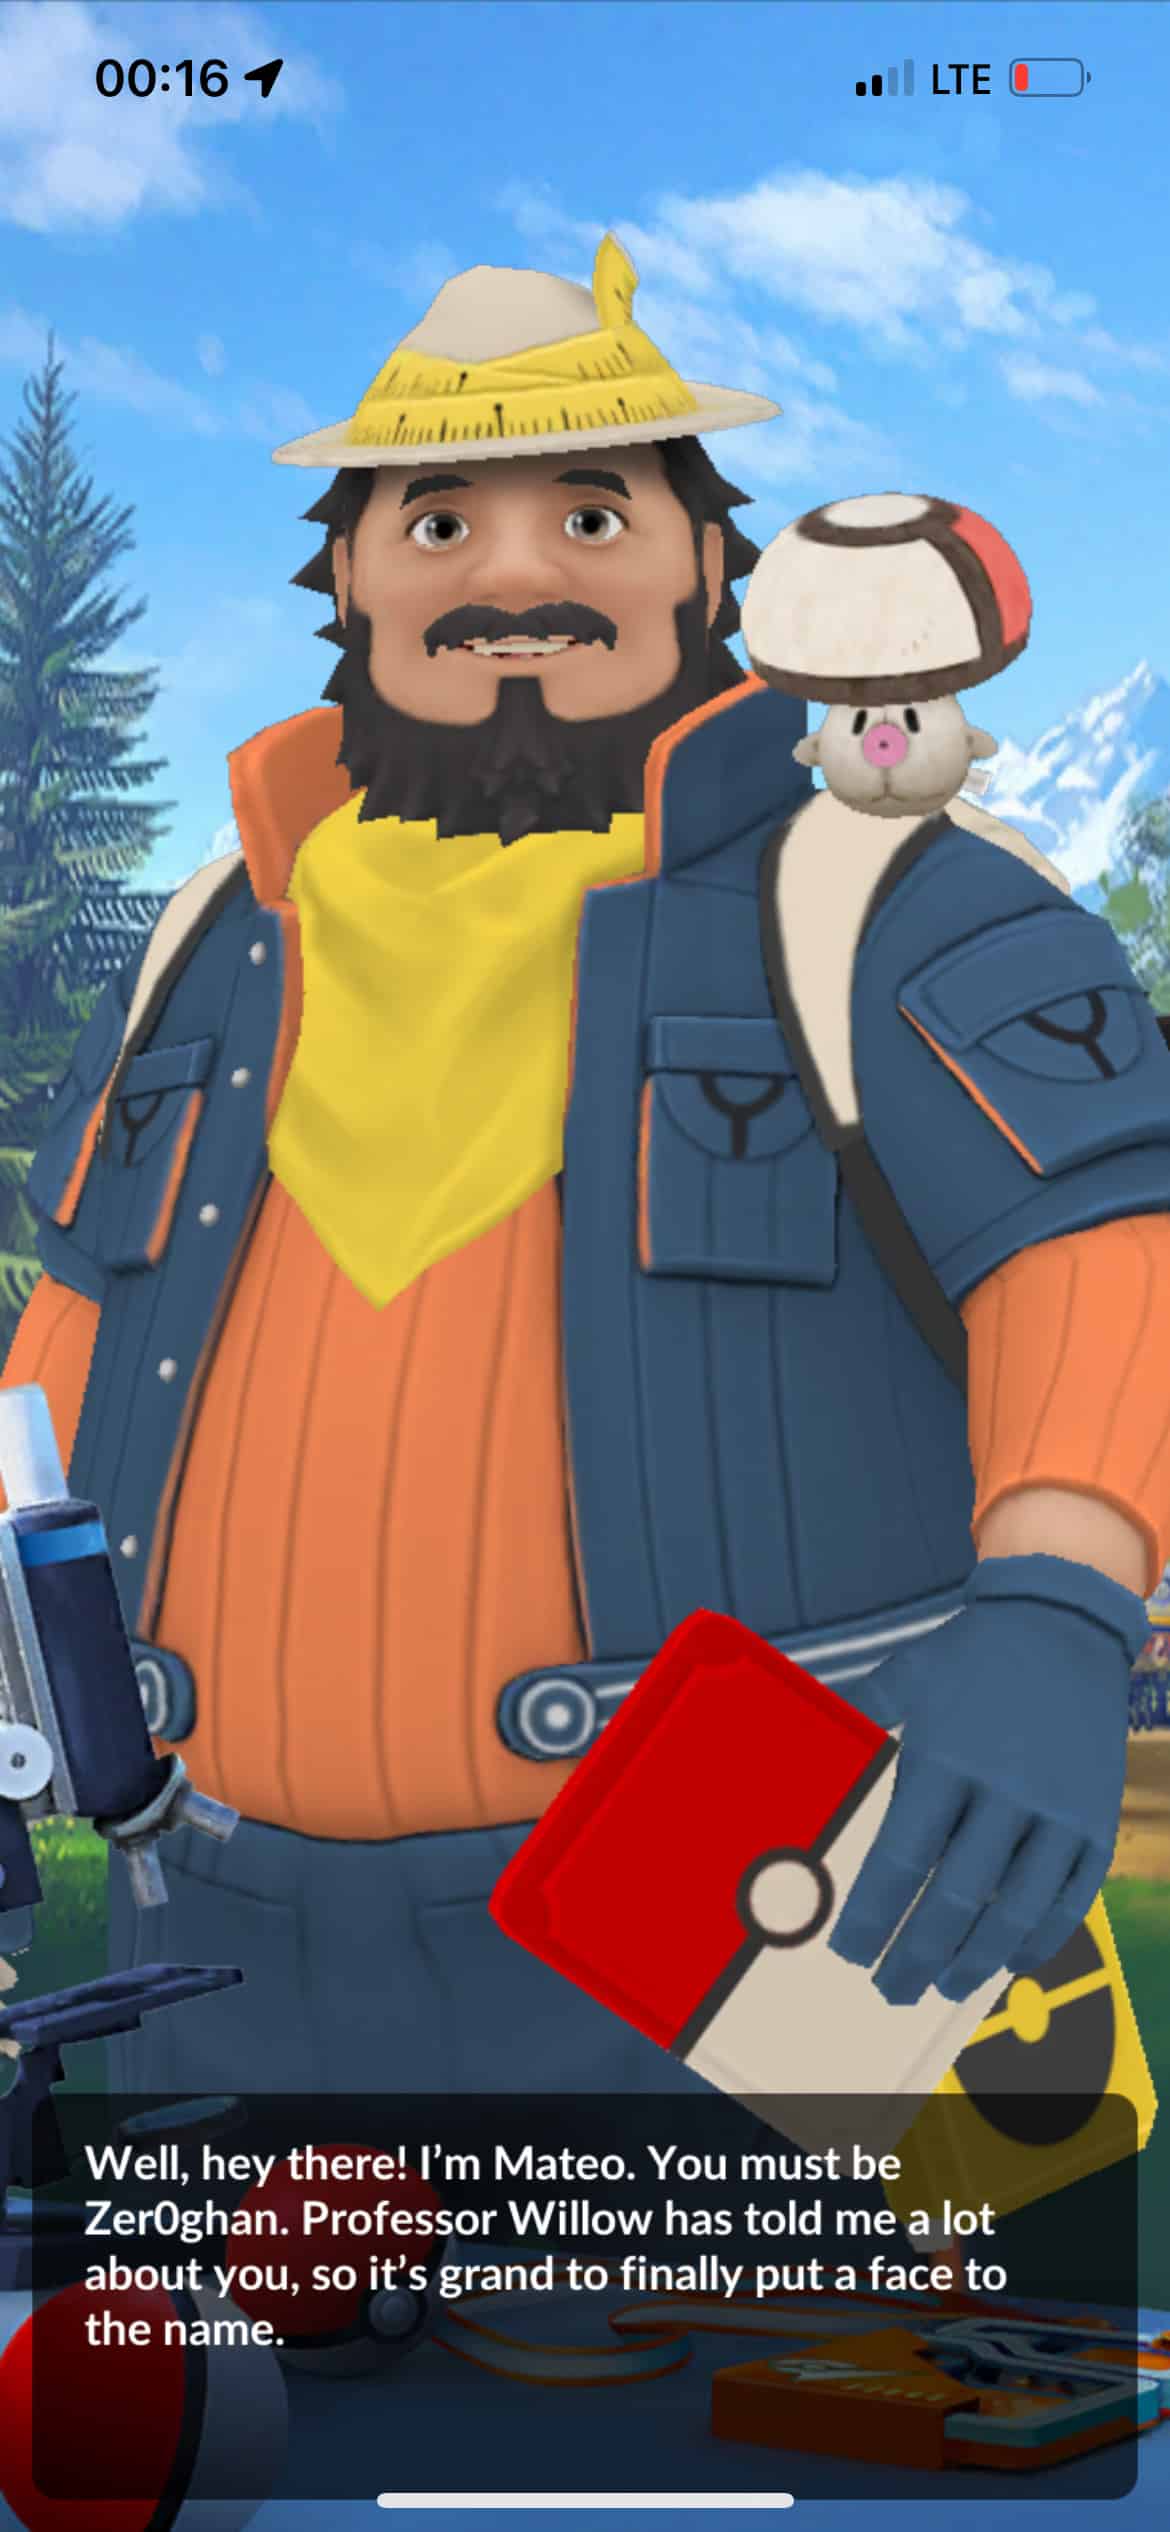
Mateo, a researcher who loves to travel, is on his way to Pokémon GO! He enjoys collecting and exchanging Postcards and Gifts from all over the world. He’s excited to meet you at the end of your journey on a Route.
- As you near the end point of a Route, Mateo may be waiting for you with some Gifts he has collected!
- Talk to Mateo to begin a Gift Exchange.
- Choose which of Mateo’s Gifts to exchange from the Route end point, the Route start point, or a nearby PokéStop.
- Add a sticker if you like, and select Exchange.
- Get ready to receive your new memento from another Trainer! Don’t forget to add new Postcards to your Postcard Book to expand your Postcard collection and catch different forms of Vivillion.
You can participate in a Gift Exchange with Mateo once a day. Be sure to have your encounter with Mateo before you complete the route, or he will vanish.
Niantic Support have shared that you can only encounter Mateo on your first Route of the day.
Tips and Tricks about Routes
This information was shared by Impossible_Ad_8304 on Reddit, and we found it to be a great addition to this article. You can find the original post here.
- Routes created on July 22nd, 23rd and 24th are most likely stuck in review – the recommendation is to start again
- Routes are not reviewed by the community but by Niantic employees, using AI and manual reviews
- Routes only need a start and end point both of which can be the same Poké Stop.
- Initial testing was mostly sent to people with a regular Wayfarer usage and a few others. Creating routes isn’t available to all at the moment.
- When creating a Route choose the start and end points then. Selecting “Choose end point” later had caused a lot of errors for some Trainers.
- Routes need a minimum length of 0.5km and have a maximum of 20km
- There is a limit on how many you can create 4 or 5 a week. It was previously 5 a day.
- Simple straight paths or loops around a park work best. Routes created that criss crossed over themselves can be annoying.
- City routes are a bit hit and miss – the GPS can throw the path around a bit.
- There is no particular difference in something being published if it has simple short text description or is overly descriptive. Routes named “Community Day Loop” and routes with long extensive names and descriptions are all good routes.
- Routes nearby to each other are easier to find and navigate in the list of their name is clearly differentiated. Britville Trail #1, Britville Trail short walk are easier to find them Britville Trail, Britville Trail, Britville Trail
- You don’t have to stay on the route path for distance to accumulate, I walked 1km off route and it still kept adding up, you probably won’t see a Zygarde cell off route and obviously I had to return to the end point to complete it.
- A route usually needs about 0.55km to create rather than 0.5km exactly. If you are at 0.5 at the end of your route creation the game doesn’t think you have done enough and you have to do stupid little loops at the end to get to 0.55km.
- The UI is still very janky. Routes all show as 1.1km and taking 22 minutes on the creator page with no map view.
- Cemeteries are probably, most likely an instant rejection.
- If you have the ability to create routes try to spread them out so more can use them.
- Zygarde Cells do exist, although quite rare, they look like a mon that is having trouble spawning and can be easy to miss.
- Elite Fast TMs, Rare Candy, and Candy XL are possible end of route rewards but relatively rare.
- Bronze badge is 5 Follows on a Route, Silver is 20, Gold is 100.
- I haven’t tested to see how long a Zygarde cell remains on the map or if it despawns when I walk away. If anyone else want to test it….
- Route specific spawns have been very lacklustre. Typically a Solrock, Pansear will appear and that’s all.
- Minimising GO, doing a raid will cause the route to pause and you’ll have to return to the point you were at to resume the route.
- I can cycle a route up to 10kmph and still reach the correct distance at the end.
- Reversing the direction of the route flips the start (blue flag) and end point (red flag)
- You can sort routes by nearest, length and level at the bottom right of the nearby list.
- As long as you visit the start and end point and travel the length of a route it can be completed without interacting with any of the route path.
- Probably more stuff I can’t think of at the moment.