In this edition of ‘How to AR’, we’re going to take a look at the trickiness of photographing type Pokémon, or any Pokémon that floats, in Pokémon GO. Photographing any Pokémon that isn’t positioned on the ground, can be tricky. If you want inspiration for ideas for your flying types, check out our AR showcase here. There are several options, from using the standard AR mode, manipulating where you position the Pokémon, and more, so let’s dive in!
As always, don’t forget to hashtag your Pokémon GO AR photos with our hashtag #GOHubAR so we can check them out!
Positioning your Pokémon in the Sky
Getting underneath your flyers, or even getting them up in the air, can be a mission. You want to be able to utilise different angles for more natural styles of AR photography, and for flying Pokémon that means them being high in the air, but in Pokémon GO, using the normal methods places them only a couple of feet above the ground. Not ideal!
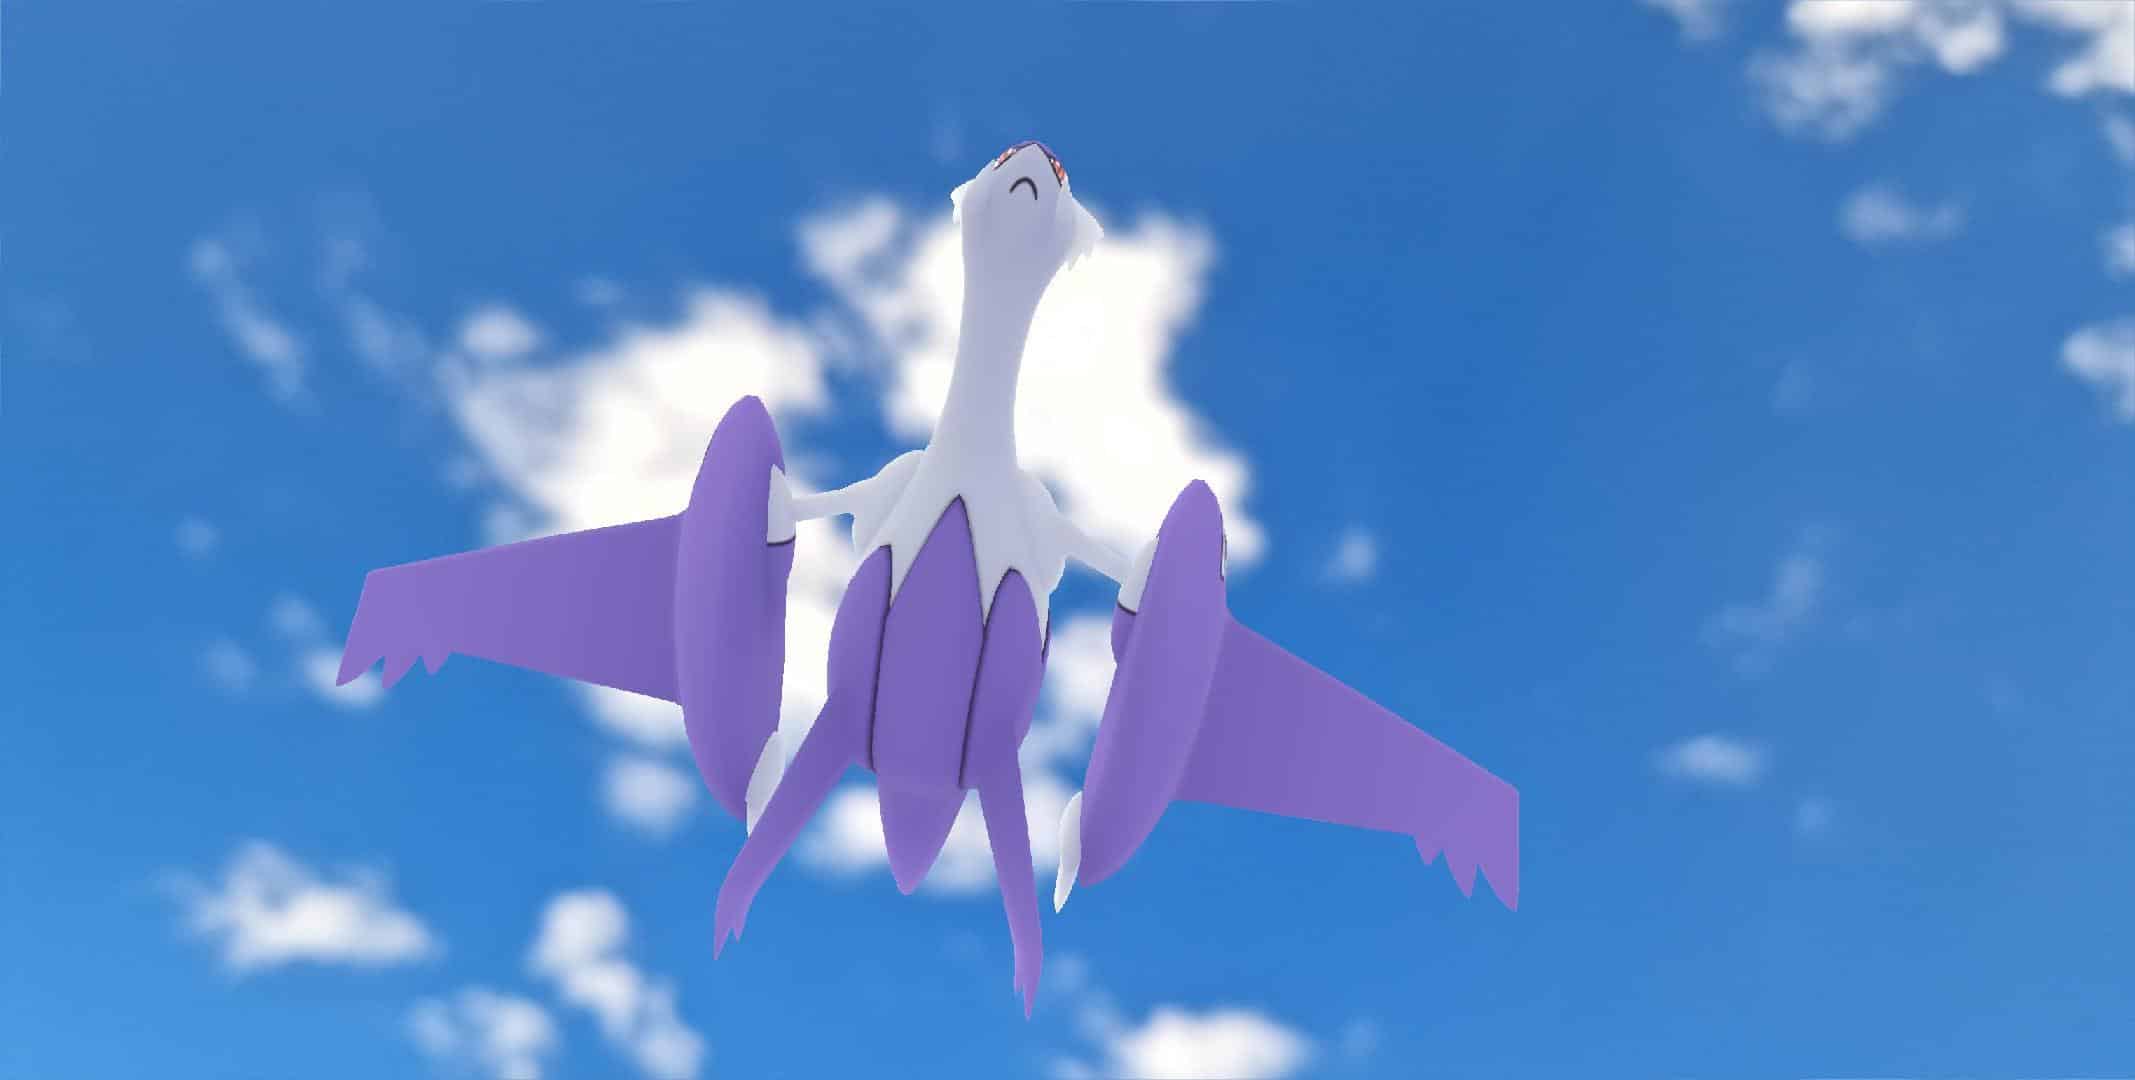
For the above shot of Mega Latios, it took a bit of manipulation, but I utilised a low roof as the ground for the yellow footprints to appear on, whilst holding my phone high above my head (it would have been easier if I had also stood on something higher!), and then once Mega Latios had spawned in, I was able to get lower and get this shot of them zooming in the clouds. Much more realistic than practically on the ground.
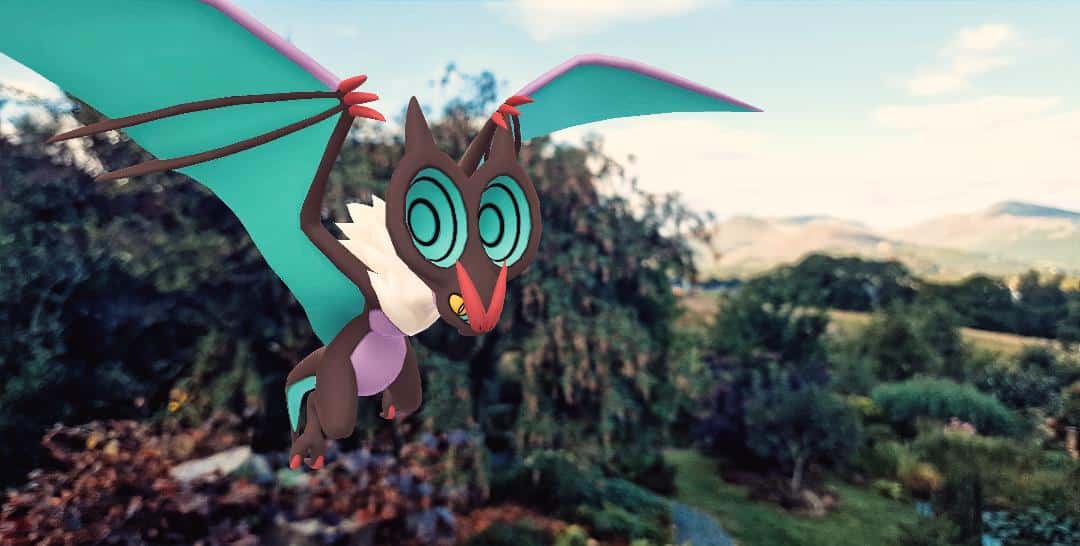
For this photograph of Noivern, I was on holiday with my family, and we were staying in the Lake District, fairly high up a hill. The hills in the background were a great location, but getting a Pokémon up in the air enough to seem natural required a bit more thought. The house we had rented had a balcony, and just off to one side of it an old tree had been cut down into a stump, but rather than cutting it close to the ground, the stump had been left really tall. I used this stump to spawn in the Noivern as the ground, letting me see the hills in the background behind Noivern, and the actual garden then appearing far below their feet.
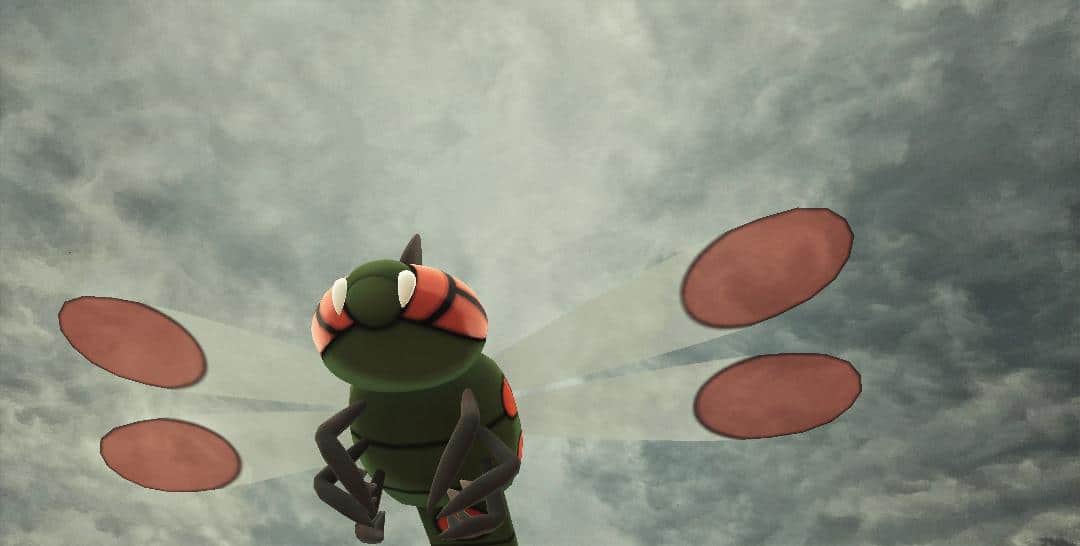
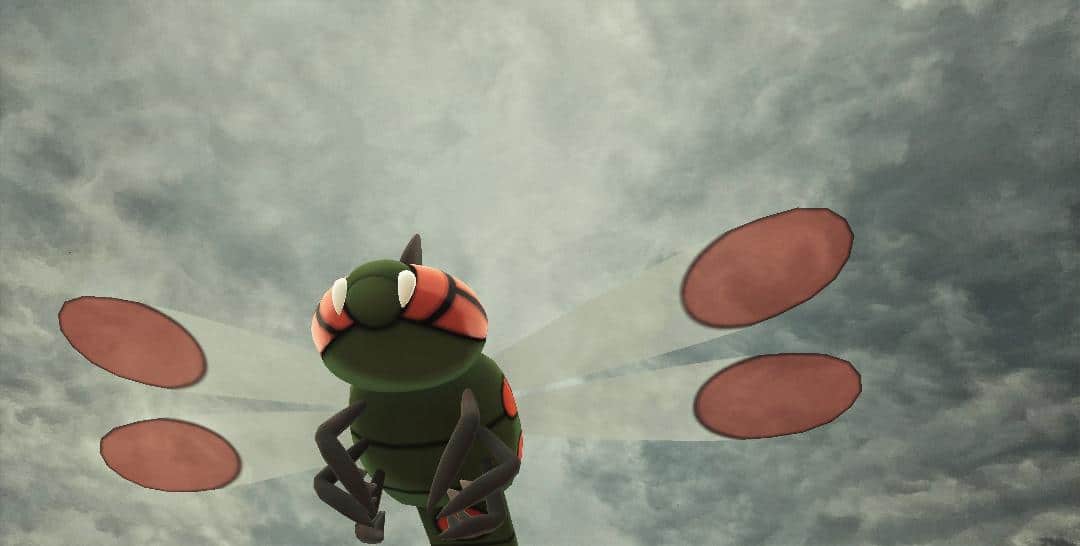
See what is around you that you can use as a new floor, do you have a shed? Some sort of lower roofed building? Even a picnic table is higher than the ground, so will allow you to get that Pokémon a bit higher in the air. For the Yanmega below I used a giant leaf on a plant!
Use Regular AR Mode
Instead of using AR+ or GO Snapshot mode, switch off the fancy AR modes, and switch back to the basic modes which have the Pokémon in a fixed position in front of the lens. Using this, you can put any Pokémon anywhere you like, so long as you don’t mind that they have their fixed position, typically looking directly into the camera in a straight on pose.


While Mew isn’t a type, it does naturally float, so using these techniques can work great for any Pokémon that has a similar design and hovers above the ground.
Glitching AR Mode
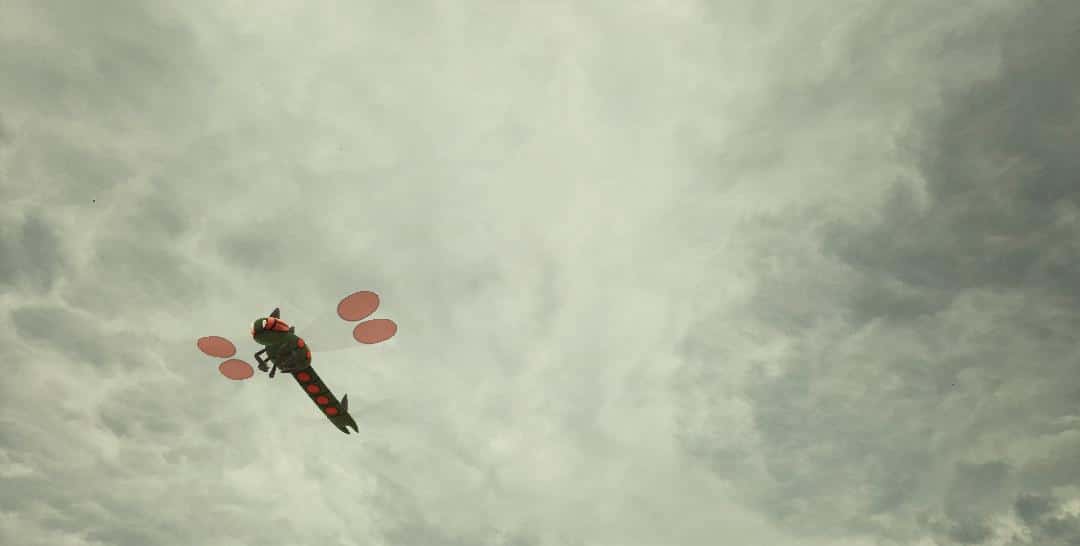
Now, one of the trickiest methods of getting Pokémon high up into the sky involves getting your AR mode to glitch. It can be hard to make happen, and kind of a pain, but when it works, it can lead to some great angles for photos! Sometimes when you have positioned a Pokémon a bit higher up, the game gets confused, and the Pokémon may start to drift further and further away from the camera. Anyone who has used AR in Pokémon GO for any real length of time will have experienced this glitch in one way or another, with Pokémon running off out of frame, but when you are photographing those flying and floating Pokémon, it can work to great effect!
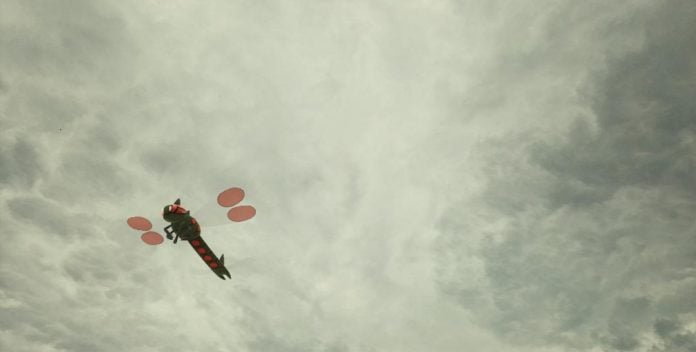
For example, when I was photographing Yanmega, all of sudden, they started drifting off up higher into the sky. They move pretty quickly, so I kept snapping and taking photos as they ran off, and it led to me getting the shot below, of their full body (in the above shot I was too close for that), and them being much higher in the dramatic stormy skies.
You can attempt to force this, by covering your lens with your hand, and move the Pokémon up into the air, before removing your hand, but the Pokémon will often then simply disappear from frame and you’ll find it back where you started. It definitely takes perseverance, but it can be so worth it!
You can find more examples of this glitch being utilised in the #flybymon on instagram!
Buddy Mode
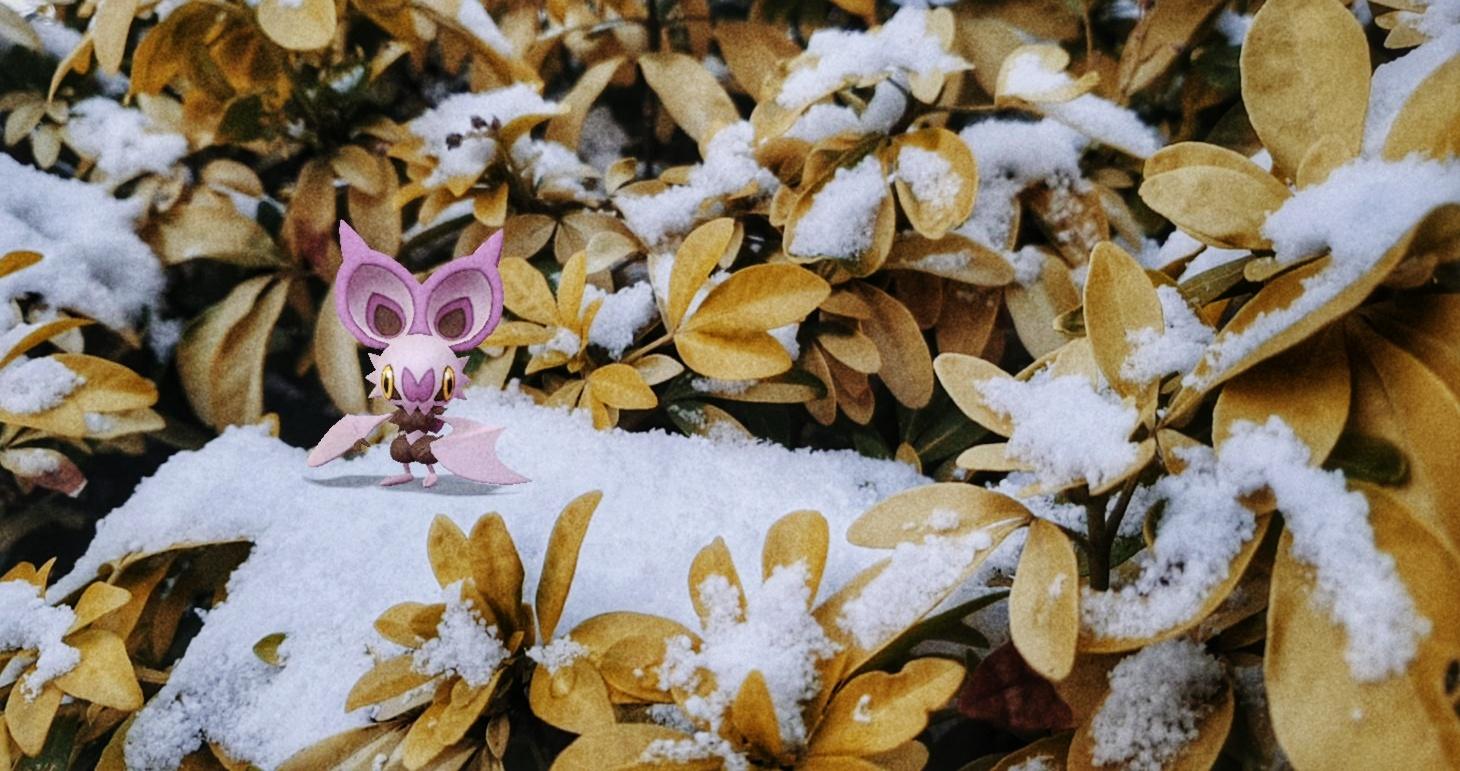
Finally, I want to talk about Buddy Mode. In Buddy Mode, Pokémon who have flying poses, were previously able to be photographed in Buddy Mode in their landed position, which is how they appear when they are your Buddy. So Charizard stood on the ground looming, Noibat was landed and peering curiously, but for some currently unknown reason, these animations have been removed.
It takes away another option for photographing these Pokémon which is a real shame. It happened back in June 2021, and Niantic haven’t acknowledged the change. When you feed a berry to these Pokémon they briefly land, but the whole animation is now clunky, quick and awkward. The AR community would love to have this option back!
I mention this option because while it is broken at the time of writing (September 2022), it may well return as an fully functioning AR mode in the future. We can but hope!
Which is your favourite technique to use? Or do you have another method of photographing your floating and flying Pokémon? Let us know!

